A Low Maintenance Front Garden For A Sunny Plot Checklist For First Time Readers
A practical step-by-step guide to a low-maintenance front garden for a sunny plot checklist for first-time readers, including preparation, instructions, common issues, tips, and next steps.

A Low Maintenance Front Garden For A Sunny Plot Checklist For First Time Readers
This guide walks you through creating a low-maintenance front garden for a sunny plot, ideal for first-time gardeners. You'll learn how to choose the right plants, prepare the soil, minimize upkeep, and keep your garden looking tidy all year. The steps are practical and focused on reducing watering, weeding, and pruning, so you can enjoy your outdoor space without spending hours on care.
Fast Answer
- Plant drought-tolerant perennials and ornamental grasses that thrive in full sun and need little water once established.
- Cover bare soil with mulch or gravel to suppress weeds and retain moisture, reducing the need for frequent watering and weeding.
Before You Start
- Check your garden's sun patterns to confirm it gets at least six hours of direct sunlight daily, which is ideal for sun-loving plants.
- Assess your soil drainage by digging a small hole, filling it with water, and watching how fast it drains; well-draining soil is key for low-maintenance success.
- Remove existing weeds, roots, and debris from the planting area, then loosen the top 30 centimeters of soil to encourage healthy root growth.
- Draw a simple plan on paper, marking where you'll place plants, pathways, and any decorative elements like ornamental gravel or garden art.
Step-by-Step Instructions
Choose Sun-Loving, Low-Water Plants
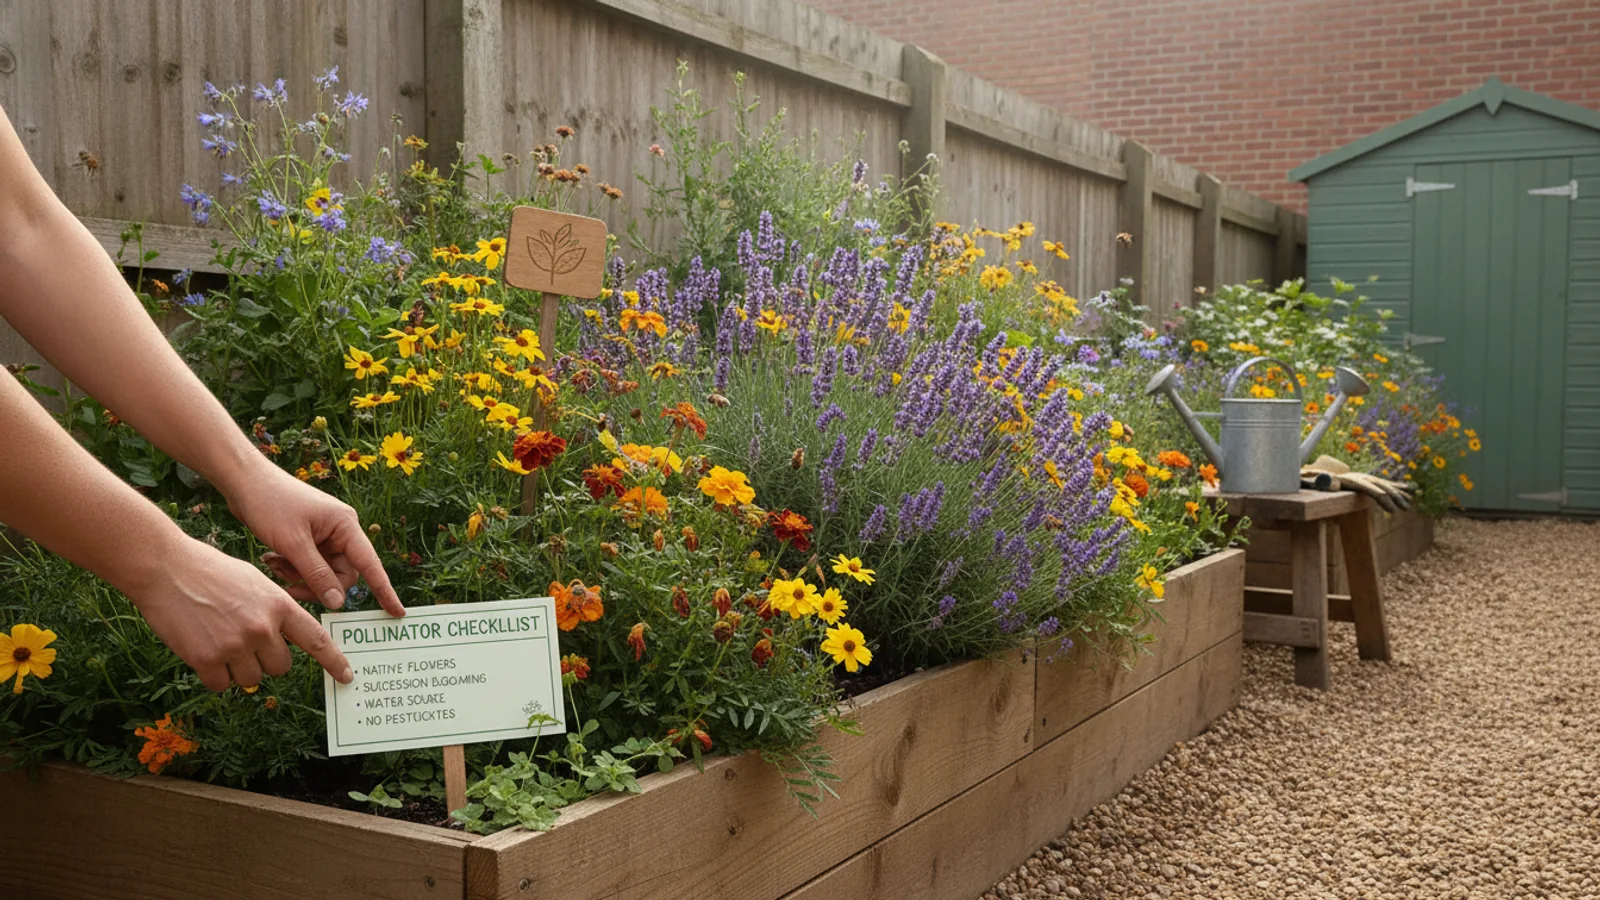
The first step is to select plants that naturally thrive in full sun and require little water once they're settled. Look for drought-tolerant perennials like lavender, Russian sage, or yarrow, and ornamental grasses such as blue fescue or switchgrass. These plants have adapted to survive with minimal moisture, so they won't need constant irrigation. When shopping, read plant tags or labels to confirm they prefer full sun and have low water needs. Also, consider native plants, because they're adapted to your regional rainfall and soil, making them even easier to care for. Choose a variety of heights, textures, and bloom times to create visual interest throughout the seasons. Avoid thirsty plants like hydrangeas or impatiens, which will demand regular watering and attention. As a practical check, aim for at least 70% of your plants to be drought-tolerant species, so the garden stays resilient with little effort.
Prepare and Improve the Soil
Healthy soil is the foundation for a low-maintenance garden, so take time to prepare it properly. Clear the area of existing weeds, roots, and debris, then loosen the soil to a depth of about 30 centimeters using a garden fork or tiller. This aeration encourages strong root growth, which helps plants establish faster and become more self-sufficient. If your soil is heavy clay or very sandy, mix in 5 to 7 centimeters of organic compost across the entire planting bed to improve texture, drainage, and nutrient content. Well-amended soil retains moisture during hot spells and provides food for beneficial microorganisms. After amending, rake the surface smooth so it's level and ready for planting. This prep work reduces future problems like waterlogging or drought stress, saving you time and effort later. Before planting, perform a quick check by squeezing a handful of moist soil; it should crumble easily rather than form a tight ball, indicating good texture.
Install Mulch or Gravel to Suppress Weeds
After planting, cover the bare soil around your plants with a 7 to 10 centimeter layer of organic mulch, such as wood chips or shredded bark, or a 3 to 5 centimeter layer of decorative gravel. This layer acts as a barrier, blocking sunlight from reaching weed seeds so they can't germinate, which dramatically reduces your weeding chores. Additionally, mulch helps the soil retain moisture by slowing evaporation, meaning you'll need to water less frequently, especially during hot, dry periods. It also moderates soil temperature, keeping roots cooler in summer and warmer in winter. For best results, apply mulch after the soil has warmed up in spring, and keep it a few centimeters away from plant stems to avoid rot. As a practical check, gently press the mulch down and ensure it's evenly spread; if you see bare patches, add more material. This one step gives you extra time to enjoy your garden instead of battling weeds.
Plant Strategically with Space in Mind
When you put plants in the ground, give them enough room to grow to their full size. Overcrowding leads to competition for water, nutrients, and light, which increases maintenance needs as you'll have to prune or replace struggling plants. Read each plant's label to learn its expected mature width and height, then space them accordingly, usually leaving at least 30 to 60 centimeters between smaller perennials and up to 150 centimeters for larger shrubs. Also, consider how plants will look together in all seasons; mix evergreen shrubs for structure with perennials that die back in winter but return in spring. Planting in informal clusters or drifts rather than single rows creates a more natural, low-care look that doesn't require precise pruning. As a practical check, after planting, water each new plant thoroughly to settle the soil around its roots. This careful spacing reduces the need for future division, staking, or heavy pruning, so your garden stays relaxed and manageable.
Water Deeply and Rarely to Encourage Roots
For the first few weeks after planting, water your new plants deeply two or three times a week, depending on rainfall and temperature. The goal is to soak the soil down to the root zone, which is about 30 centimeters deep, rather than giving a light sprinkle every day. This encourages roots to grow down into the soil in search of moisture, making plants more resilient during dry spells. After this establishment period, gradually reduce watering frequency so plants must fend for themselves. Most drought-tolerant plants only need supplementary water during prolonged heatwaves or when they show signs of wilting. To check if watering is needed, dig your finger a few centimeters into the soil near a plant; if it feels dry, water deeply; if it feels moist, wait a few more days. This technique trains plants to develop strong root systems, so you'll spend much less time with a hose as the garden matures.
Adopt Simple Seasonal Care Routines
A low-maintenance garden still needs a minimal care routine to stay tidy and healthy. In spring, clear away any dead growth from the previous year, add a fresh layer of mulch to suppress weeds, and trim back ornamental grasses before they start growing. In summer, do a quick once-a-week walk to pull any stray weeds, deadhead faded flowers to encourage reblooming, and check for signs of pests or disease. In autumn, cut back spent perennials and leave some seed heads for winter interest; leave most leaves to decompose in place, as they feed the soil. Winter care is minimal: just tidy up any storm debris and avoid walking on frozen ground. Use sharp tools to make clean cuts, and always check a gardening guide for specific needs of your plants. This routine keeps your garden neat without becoming time-consuming. Remember to adjust watering during heatwaves, and don't worry about perfect edges or perfect shape—natural is fine.
Quick Reference
| Situation | Action | Why it helps |
|---|---|---|
| You see weeds poking through the mulch for the first time in early summer. | Hand-pull the weeds immediately, including their roots, then add a fresh layer of mulch if the existing layer is thin or patchy. | Weeds compete with your plants for water and nutrients, and removing them early stops them from spreading seeds and turning into a bigger chore. |
| A heatwave is forecast with temperatures above seasonal averages for several days. | Water your plants deeply in the cool of early morning, giving each plant about 2 to 3 liters of water, and check soil moisture the next day. | Deep watering during high heat keeps roots hydrated and reduces stress, helping plants survive until the heat passes, but overwatering can also harm. |
| Your lavender or sage plants start to look leggy with bare stems and few leaves at the base. | Prune them back by one-third in early spring, cutting just above a pair of leaves, to encourage fresh, dense growth from the base. | This simple pruning keeps woody herbs compact, prolongs their lifespan, and prevents them from becoming ragid and unattractive. |
Common Issues
- Overwatering causing yellowing leaves and root rot, especially in the first month.: Check soil moisture by inserting a finger up to the second knuckle in the root area; only water if it feels dry. Let the top 2-3 centimeters of soil dry out between waterings, and always ensure the site has good drainage.
- Weeds appearing through mulch in large numbers.: Hand-remove weeds promptly, strengthen the mulch layer to a thickness of 7-10 centimeters, and consider laying a weed barrier fabric beneath mulch in high-weed areas, ensuring it's permeable to water.
- Plants that were supposed to be drought-tolerant looking wilted or stressed.: Water deeply once a week and apply a layer of organic compost around the base to retain moisture, but ensure the soil drains well. Also, check if the plant is getting more sun or shade than recommended on its tag, and adjust its placement if necessary.
Advanced Tips
- Install a drip irrigation system with a timer set for early morning, which delivers water directly to roots and reduces evaporation, minimizing water waste.
- Consider using a living mulch, such as low-growing thyme or creeping sedum, between larger plants to suppress weeds and create a soft, green carpet.
- Incorporate a rain garden or a shallow swale to capture rainwater from gutters, directing it to naturally water your garden during dry spells.
Final Checklist
- Check that all your plant choices are labeled full sun and drought-tolerant, and that they're spaced at least 30 centimeters apart to avoid crowding.
- Confirm that the soil is amended with compost and drains well by doing a simple percolation test before planting.
- Apply a 7-10 centimeter layer of mulch or gravel, keeping it away from plant stems and edges of the garden.
- Set a watering schedule for the establishment period and us a moisture probe or finger test to ensure you're not overwatering.
FAQ
What is the best time of year to start a low-maintenance sunny garden?
The best time is early spring or early autumn when temperatures are mild and rainfall is typically higher. This gives new plants time to establish roots before extreme heat or frost. Avoid starting in midsummer unless you can commit to regular watering during the first few weeks.
How often will I need to water my established low-maintenance garden?
Once plants are established after the first summer, you may only need to water during prolonged droughts or heatwaves, perhaps once a week or less. Always check soil moisture before watering; stick your finger into the soil—if it's dry a few centimeters down, water deeply.
Can I use gravel instead of mulch, and will it affect plant growth?
Yes, gravel is an excellent, lasting alternative to mulch for sunny gardens. It suppresses weeds and retains soil moisture. Avoid using light-colored gravel that reflects too much heat, and choose rounded stones about 2-3 centimeters in diameter. Ensure the gravel layer is 3-5 centimeters deep and keep it away from plant stems to prevent heat damage.