What To Check Before A Drainage Check After Heavy Garden Rainfall
A practical step-by-step guide to what to check before a drainage check after heavy garden rainfall, including preparation, instructions, common issues, tips, and next steps.
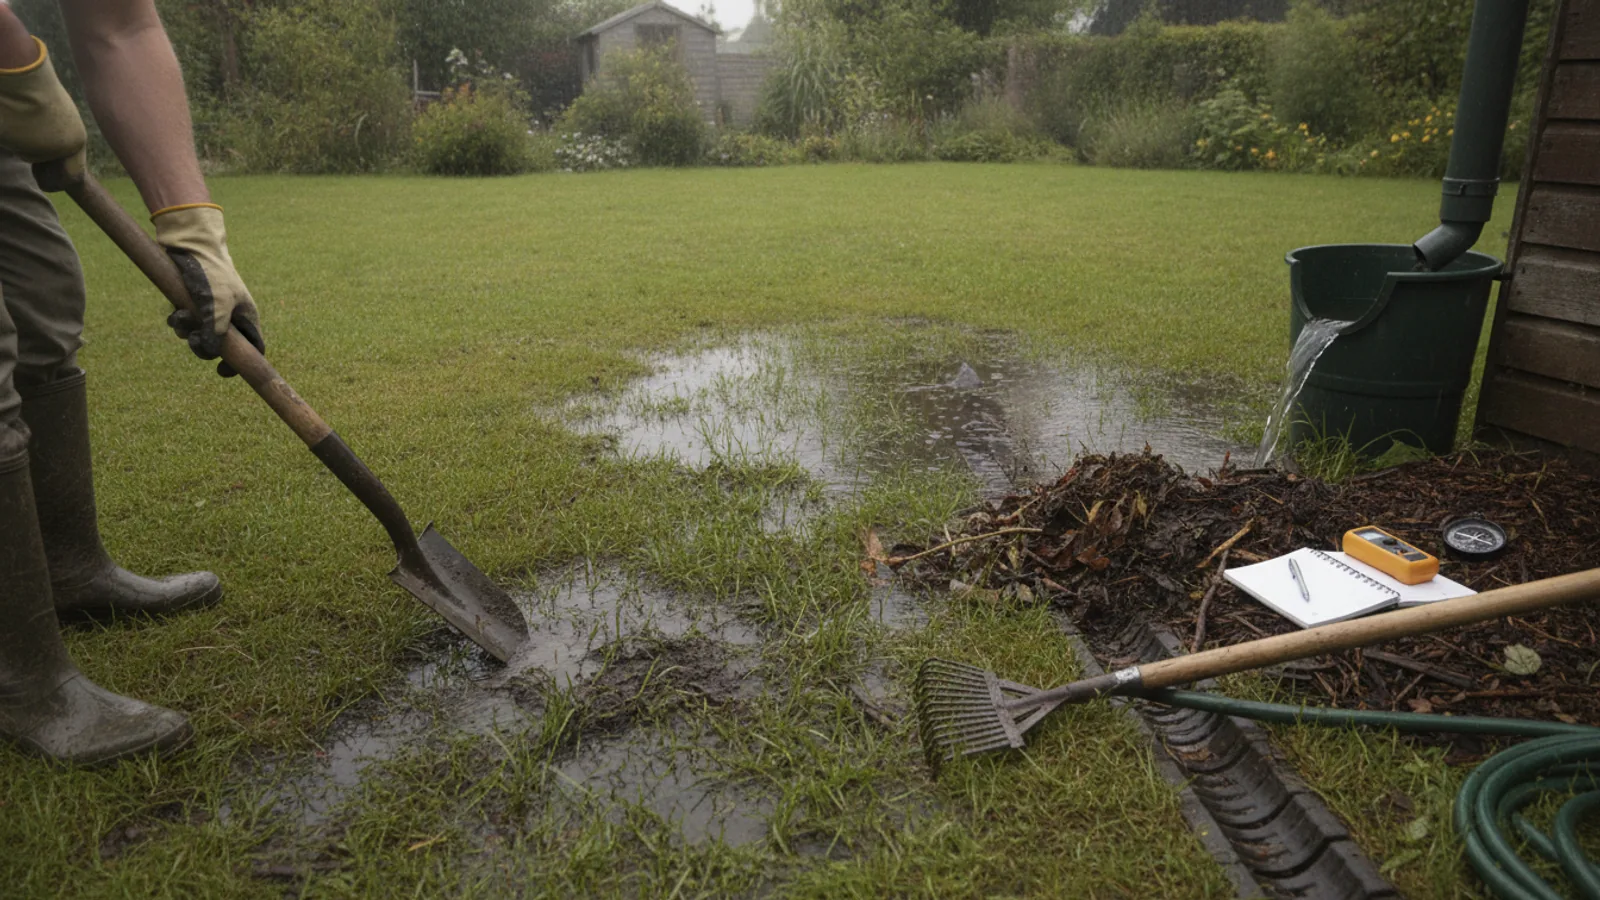
What To Check Before A Drainage Check After Heavy Garden Rainfall
This guide walks you through a practical, safety-first inspection of your home drainage after heavy garden rainfall. You'll learn how to spot blockages, identify overflow risks, and protect your property from water damage. The steps cover checking gutters, downspouts, surface drains, French drains, and the final flow of water away from your home. By following this checklist, you can catch small issues before they become costly problems and keep your drainage system working efficiently.
Fast Answer
- First, look for standing water, soggy soil, or erosion next to your foundation, and clear any visible debris from drains and gutters.
- Then, test each drain with a bucket of clean water to confirm it flows freely, and check that downspouts discharge at least 1.5 meters from your home's walls.
Before You Start
- Put on sturdy waterproof gloves and rubber boots to protect your hands and feet from sharp debris or contaminated water.
- Gather a sturdy garden trowel or small shovel to lift grates and remove loose soil or leaves from drain openings.
- Keep a stiff-bristled brush or a plumber's snake handy for dislodging compacted sludge or roots from drain pipes.
- Have a bucket of clean water ready so you can test each outlet after you clear it, confirming that water flows away quickly.
Step-by-Step Instructions
Inspect the Perimeter Gutters and Downspouts
Start at the roofline because clogged gutters are the most common cause of overflow after heavy rain. Use a sturdy ladder and have someone hold the base for safety. Wear gloves and scoop out leaves, twigs, and silt from every gutter section. Pay special attention to the corners and the downspout openings, where debris often collects. If you have a leaf guard, lift it and check that water can pass underneath. Then check that the downspout is securely attached and not bent or crushed. As you work, look for signs of water stains on the fascia or siding, which suggest gutters have overflowed. Finally, confirm that the downspout extends at least 1.5 meters away from the foundation (or use a splash block). This prevents water from pooling near your walls, which can seep into a basement or crawl space.
Clear Surface Drain Grates and Inlets
Walk around your yard and locate every surface drain grate, including those near patios, driveways, and garden edges. After heavy rain, these can be buried under wet leaves, grass clippings, or soil washed off garden beds. Use your gloved hands or a trowel to lift off the grate and pull out all loose debris. Since the grate is off, inspect the interior of the drain pit for a thick layer of sludge that would restrict water flow. Scrape it out with a trowel, but do not push dirt deeper into the pipe. If you see roots coming through gaps in the brick or concrete, break them off or cut them back. When the pit is clear, replace the grate and pour a bucket of water over it. The water should disappear quickly without backing up. This check matters because even a small blockage can cause water to flow over your property, leading to muddy areas and erosion.
Test French Drains and Trench Grates
French drains are shallow trenches filled with gravel or perforated pipe that collect groundwater and divert it away. After heavy rain, inspect the surface along the entire trench for signs of water pooling or slow absorption. Remove any leaves or soil that have washed over the gravel, because that can seal the top and prevent water from entering. If the drain has a fabric sleeve, check that it is not clogged with silt. Use a narrow tool to gently probe the gravel or the pipe opening without forcing anything. Then pour water into the inlet at one end—it should emerge at the outlet or be absorbed along the trench. If water rises or spills over the edge, the drain is blocked. Clear the inlet grate and use a plumber's snake to push through compacted soil, but do not use high-pressure water if you are unsure of the pipe's condition.
Check Yard Drains and Catch Basins
If your lawn has a catch basin or a yard drain (a round or square grate set low in the ground), that is a direct entry to the drainage pipe. After rainfall, the grate may be covered with wet grass or floating organic matter. Clear the grate with a stiff brush, then lift it carefully. Inside, you will see a pipe opening that connects to the main sewer or a dry well. Remove any visible sludge or stones from the basin bottom, but do not put your hands into the pipe opening. Use a flashlight to inspect for roots growing into the joints. If you see roots, you can cut them with a root cutter attachment on a garden hose or use a foam root killer, but be cautious. After clearing, pour your bucket of water in—it should flow out steadily. This step matters because catch basins collect sediment, and over time that sediment hardens, causing the drain to become completely blocked.
Inspect the Storm Drain Connection and Outflow
Locate the point where your property's drainage pipes exit the property line or connect to a municipal storm sewer. This is often near the street or a side boundary. After heavy rain, the opening may be covered with mud, leaves, or trash. Clear the debris from the mouth of the pipe so water can leave freely. Also, check that the outflow pipe is not partially submerged in a muddy puddle, which can slow discharge. If the outlet has a flap or grate, make sure it swings open easily and is not stuck shut. Use a long stick or your gloved hand to gently probe the opening for a solid blockage. Look for wet soil or erosion around the outlet, which suggests that water is backing up. Pour a bucket of water into the nearest downstream drain to confirm it flows to this outlet and emerges quickly.
Review the Overall Flow and Ponding Spots
After completing the individual checks, take a wider view of your lawn and garden. Walk the entire property and note every area where water tends to stand for more than a few hours. Use a long screwdriver or soil probe to test the ground—if it easily sinks 10 centimeters, the soil is saturated. Look for low spots where water collects, eroded rills in bare soil, and water stains on the exterior wall. Also check that your downspout extensions and splash blocks are still aimed away from the house and not shifting. If you have a sump pump, make sure the discharge line slopes downhill and the outlet is clear. This final review helps you see whether the whole system works together: water should leave your property efficiently without causing damage. Addressing minor grading issues now can prevent serious foundation problems later.
Quick Reference
| Situation | Action | Why it helps |
|---|---|---|
| Standing water in the yard more than 6 hours after heavy rainfall | Walk the entire area to locate the blocked drain. Clear the grate and use a trowel to remove debris from the pit. If water still does not flow, insert a plumber's snake to loosen the blockage. After clearing, pour a bucket of clean water and ensure it drains within 5 minutes. | A simple blockage, like wet leaves or a mat of grass, can prevent draining. If not cleared, the water will eventually seep into the soil and undermine your foundation or damage plants. |
| Water backup is visible inside a downspout or at the gutter joint | Immediately clear the gutter and downspout with a plumber's snake or a high-pressure hose attached to your garden hose. Flush from the top down to push out debris. Then, securely refit the downspout and verify it is not crushed at any point. | A blocked downspout sends water back into the gutter, causing it to overflow and soak the side of your house. Prolonged exposure can rot wood and damage paint. |
| Water flow from the outlet is weak or negligible even after clearing the obvious blockage | Check the entire drainage pipe route for a collapsed section, a root intrusion, or a heavy sludge deposit. Use a flexible inspection camera if you have one, or call a professional to run a camera through the pipe. Do not attempt to dig up the pipe without knowing the exact location of the blockage. | Hidden blockages deep in the pipe will not be cleared by superficial cleaning. A camera reveals the exact cause, allowing you to fix it properly without unnecessary excavation. |
Common Issues
- Leaves and debris clogging the gutter and downspout openings: Install gutter guards or keep a regular cleaning schedule, especially in autumn. After each heavy storm, walk around and manually remove any leaves that sit on top of the guard. Also, cut overhanging branches that drop leaves directly onto your roof.
- Trench drains become blocked with silt and fine soil washed from garden beds: Rake the soil around the drain so that it slants away, and add a layer of mulch or ground cover to hold soil in place. Periodically dig out the trench and replace the gravel, and install a catch basin at the highest point to trap sediment before it enters the pipe.
- The drainage pipe has a low spot or bellies where water accumulates and freezes in cold weather: Await dry weather, then carefully level the pipe using a string line and gravel to support it. If the pipe is flexible, you may be able to adjust the bedding. For a rigid pipe, you might need a contractor to re-lay it with a consistent slope.
Advanced Tips
- Use a garden hose test for each drain individually, then test them all together by turning on a sprinkler that mimics rain; this simulates the worst-case flow and reveals hidden bottlenecks you might miss in single tests.
- If you have a large property, an expert-level tactic is to map the drainage system by drawing a diagram with arrows showing the flow direction and elevations, so you can quickly identify which drain is clogged based on where water pools.
- Consider installing backflow prevention valves on your outdoor drains, especially if your area is prone to flash flooding, because these small devices can stop sewage from backing up into your yard.
Final Checklist
- Verify that all gutters are free of leaves and downspouts are unobstructed to the ground.
- Confirm that every surface drain grate in the yard is clear and that water runs into it without overflowing.
- Test at least three different drains with a bucket of water to ensure they all have a rapid flow.
- Walk the entire property line after a modest rainfall to confirm that water properly exits without ponding near the foundation.
FAQ
How long should standing water take to drain after heavy rain?
Generally, a properly functioning drain should remove a bucket of water (about 10 liters) within a few minutes. For a yard drain, water should disappear within 5 minutes of pouring. If water takes longer or remains for more than 6 hours, that indicates a blockage or that the soil is saturated. In heavy clay soil, even a healthy drain may take longer, but pooled water that lasts overnight suggests a problem that needs attention.
Can I use a pressure washer to clean my drainage pipes?
Yes, a pressure washer can be effective for clearing sludge from a pipe, but you should always check for cracks or poor joints first. Start with low pressure and use a surface cleaner attachment. Never use a pressure washer on a pipe with a trap, as it can force water backward and damage the trap seal. Also, wear goggles and protective clothing, because water and debris can spray back at you.
What should I do if I suspect a collapsed drainage pipe underground?
If you notice wet areas that do not dry out, or if water emerges from the ground where no outfall exists, stop any further digging. Contact a professional drainage contractor who can run a camera inspection to confirm the collapse. Do not attempt to fix a collapsed pipe yourself unless you have equipment to excavate safely, because a mislocated repair can cause further damage. The contractor will advise whether to reline the pipe or replace the affected section.