A Small Patio Planting Plan For Long Summer Colour Checklist For First Time Readers
A practical step-by-step guide to a small patio planting plan for long summer colour checklist for first-time readers, including preparation, instructions, common issues, tips, and next steps.
A Small Patio Planting Plan For Long Summer Colour Checklist For First Time Readers
This guide walks first-time gardeners through creating a small patio planting plan that delivers vibrant color from early summer through the first autumn frosts. You will learn how to choose a balanced mix of long-blooming annuals, perennials, and foliage plants; how to prepare pots and containers for healthy root growth; and how to water, feed, and deadhead so that every plant performs at its best. The plan includes a simple layout for a 4-foot by 6-foot patio corner, a weekly care rhythm, and troubleshooting tips for common problems like drooping leaves or faded flowers. By the end, you will have a reliable, repeatable method for enjoying months of color in a tiny outdoor space, even if you have never grown anything before.
Fast Answer
- Pick a sunny spot with at least six hours of direct sun, then choose a mix of five to seven plants: two thrillers (tall, upright), three fillers (mounded, bushy), and two spillers (trailing over the edge). Use one large container or arrange several pots close together.
- Plant in premium potting mix that contains slow-release fertilizer, water thoroughly after planting, and place the container where you can reach it easily with a watering can. Then, every morning, check soil moisture by pushing your finger one inch deep; water only when that top inch feels dry.
Before You Start
- Select a container that is at least 18 inches wide and 18 inches deep for the main planter, with drainage holes in the base. If you prefer smaller pots, choose those that are at least 10 inches deep to allow roots to grow.
- Buy premium-quality potting mix that includes perlite or vermiculite for aeration and a slow-release fertilizer balanced for flowering plants. Never use garden soil, as it compacts in containers and may harbor pests.
- Gather tools: a hand trowel, a watering can with a narrow spout (or a hose with a gentle spray nozzle), a pair of sharp scissors or pruning shears for deadheading, and a small bucket for removing spent blooms.
- Before planting, soak the root balls of your purchased plants in a tray of water for 10 minutes so they are fully hydrated. While they soak, arrange your pots in the desired location, ensuring they sit level and close to a water source.
Step-by-Step Instructions
Choose the Right Spot and Measure Your Light
Look at your patio at different times of the day and note how many hours of direct sunlight each area receives. Most flowering annuals, such as petunias, marigolds, and zinnias, need at least six hours of direct sun to bloom heavily. If you have only four hours, pick shade-tolerant plants like impatiens, begonias, or fuchsias. Mark the spot you will use with a piece of chalk or a small stone. For a small patio, aim for an area about four feet by six feet. Then, measure the space to ensure your chosen container will fit while leaving enough room for you to walk around and water comfortably. Also, note whether the area is sheltered from strong wind, because wind dries out pots quickly and can topple tall plants. If the spot is exposed, plan to move the container to a calmer corner on windy days, or group pots together to shield each other. This step matters because matching plants to light levels prevents disappointed leggy growth or scorched leaves.
Select Your Plant Palette: Thrillers, Fillers, and Spillers
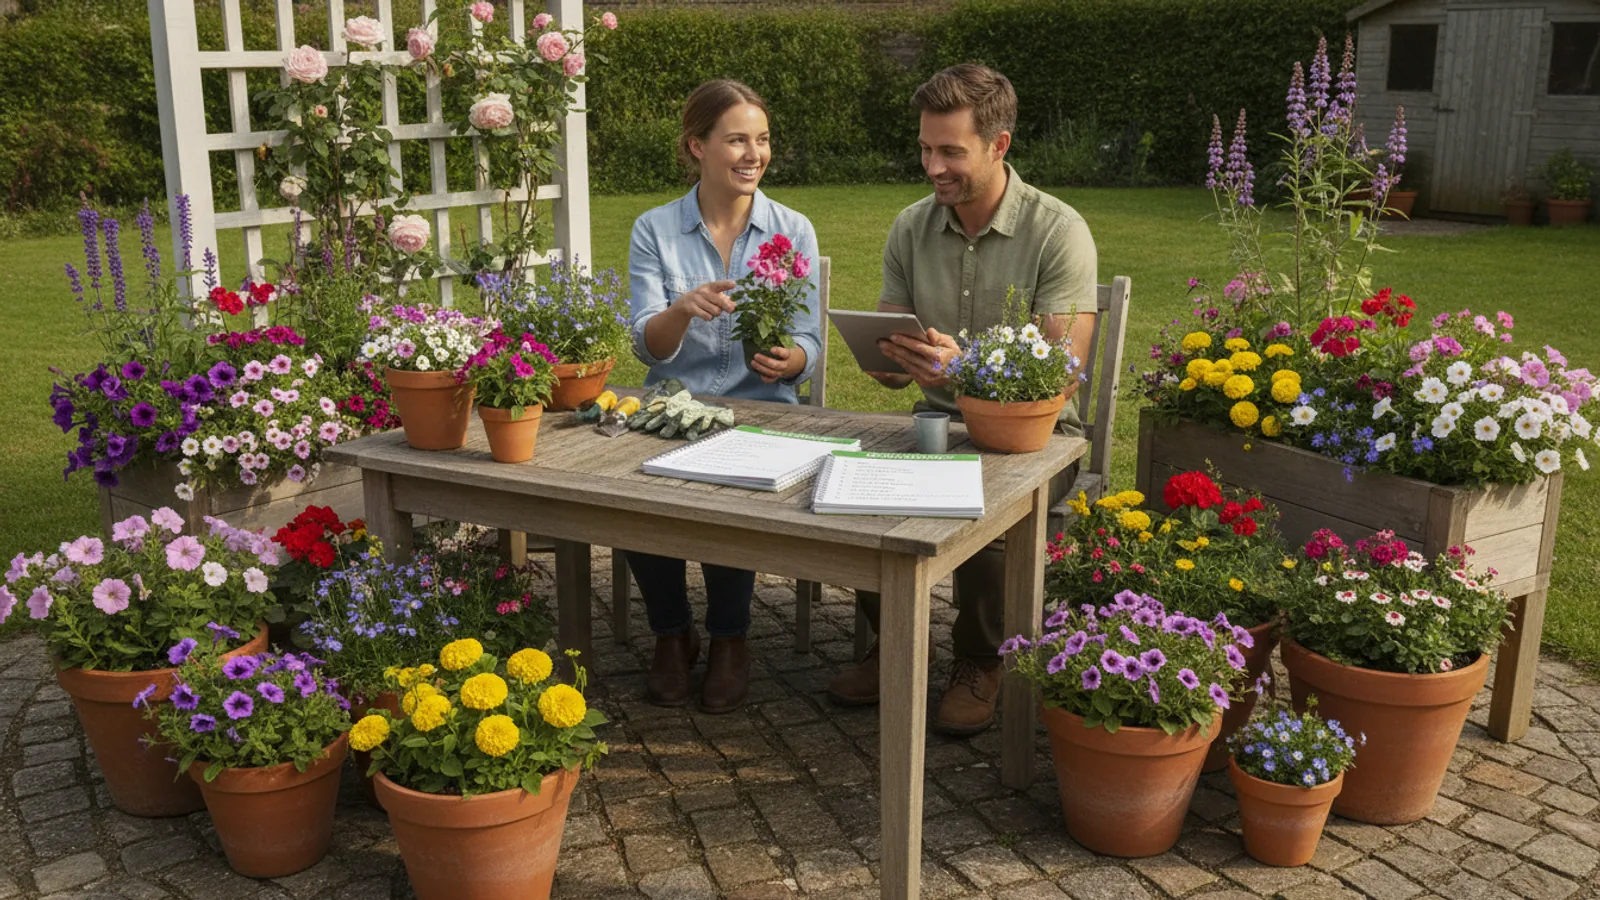
For a long-lasting show, pick a combination of plants that bloom continuously from early summer to frost. Choose one thriller – a tall, upright plant like a dwarf canna, a spike (Dracaena), or a tall verbena – that stands at least 18 inches tall. Then choose three fillers: mounded, bushy plants that cover the middle, such as petunias, calibrachoa (million bells), marigolds, or zinnias. Pick these in complementary colors, such as purple petunias with yellow marigolds, or pink calibrachoa with white alyssum. Finally, choose two spillers: trailing plants like sweet potato vine, bidens, or trailing lobelia that will cascade over the container's edge. When you visit a garden center, avoid flats with wilting leaves or roots growing out of the drainage holes. Instead, choose sturdy plants with unopened buds and healthy green foliage. Buy the number of plants you need for your container: one thriller, three fillers, and two spillers for an 18-inch pot. This ratio creates a full, balanced look without crowding.
Plant Your Container in Layers
Start with a clean pot that has drainage holes. Place a piece of porous landscape fabric or a coffee filter over the holes to prevent soil from washing out, then fill the pot one-third full with potting mix. Remove each plant from its nursery pot and gently tease apart the roots if they are circling the root ball. Set the thriller in the center back, slightly off-center for a more natural look, with the top of its root ball about one inch below the rim of the pot. Add the three fillers around the front and sides, spacing them evenly so their leaves barely touch. Then place the spillers near the front edge, angling them so their stems will trail over the side. Fill in around the roots with more potting mix, pressing down gently to eliminate air pockets. Leave a one-inch gap between the soil surface and the pot rim so water can pool when you irrigate. Water thoroughly until water runs out the bottom. This layered planting ensures each plant has room to grow and creates a dense, full display.
Water Wisely and Feed Regularly
After planting, check the soil moisture every morning and evening. Stick your index finger one inch into the soil; if it feels dry, water slowly and deeply until water exits the drainage holes. In hot, dry weather, you may need to water once a day; in cooler weather, maybe every two or three days. If your potting mix already contains slow-release fertilizer, you may not need extra feeding for six weeks. After six weeks, or if you notice leaves turning pale or growth slowing, apply a water-soluble fertilizer specifically for flowering plants, following the package dilution rates. For continuous blooms, feed every two weeks during the growing season. Mix the fertilizer in a watering can and apply it to moist soil, not dry, to prevent root burn. Always water at the base of the plants, avoiding the leaves, because wet foliage invites fungal diseases. This consistent moisture and feeding schedule keeps the plants stress-free and blooming hard.
Deadhead and Pinch for Continuous Blooms
Every few days, walk around your container and remove spent flowers. For plants like marigolds and zinnias, snap or cut the flower head off just above the next leaf node. For petunias and calibrachoa, pinch out the entire faded blossom, including the small green base, which prevents seed formation. For plants like coleus or scented geraniums, pinch off the top two inches of any leggy stem to encourage bushier growth. Use your thumb and forefinger or a pair of clean scissors. After deadheading, collect the debris and discard it – do not leave it on the soil, as it can harbor pests. Also, check for yellowing leaves and remove those with a clean cut. This task takes five to ten minutes, and it is the single most important activity for keeping your patio in bloom for months. By removing spent flowers, you redirect the plant's energy into producing new buds instead of seeds.
Monitor Pests and Diseases Weekly
Once a week, inspect the undersides of leaves and the crevices where stems meet leaves. Look for tiny, sap-sucking insects like aphids or spider mites, which appear as tiny moving dots or fine webbing. Also check for whiteflies that flutter up when you touch a leaf. If you find pests, knock them off with a strong spray of water from a hose, or wipe leaves with a cloth dipped in a weak solution of dish soap and water (one teaspoon of dish soap per quart of water). For fungal spot diseases, which show as brown or black spots, remove affected leaves and improve air circulation by moving pots slightly apart. Do not compost diseased plant parts, and do not leave them on the soil. If problems persist, consult the plant tag or your local extension office for advice, but avoid reaching for chemical sprays unless absolutely necessary. Healthy, well-watered plants are naturally more resistant.
Quick Reference
| Situation | Action | Why it helps |
|---|---|---|
| The leaves of your petunias are turning yellow while the soil feels wet. | Stop watering for 3 days, check that drainage holes are clear, and if the pot is sitting in a saucer, empty it. If the soil is still soggy after 3 days, gently tip the pot on its side and slide the root ball out to inspect for rot, then repot in fresh mix if needed. | Yellowing leaves with wet soil usually mean overwatering. Roots suffocate when they sit in water, causing nutrient uptake to fail, which shows as yellow leaves. |
| Your plants are growing tall and leggy with very few flowers, especially near the bottom. | Move the container to a sunnier location that receives at least 6 hours of direct light, and pinch off the top 2 inches of each stem to encourage bushier growth. If already in full sun, pinch and then fertilize with a bloom-boosting, higher-phosphorus formula. | Leggy, sparse growth indicates poor light. The plant stretches toward the sun, sacrificing flowers. Pinching creates side branches, and phosphorus supports flowering. |
| The flowers are blooming beautifully, but the plant suddenly looks wilted in the afternoon even though the soil is damp. | Check if the pot is placed in intense afternoon heat or if roots have completely filled the container. If the pot is small and root-bound, repot into a larger container. If it is just the hot sun, move the pot to light shade during peak hours or group pots together to reduce heat stress. | Root-bound plants cannot take up enough water, and heat stress can cause temporary wilting even when moisture is present. Increasing root space or shade helps the plant recover. |
Common Issues
- Spent flowers are turning into seed pods, and the plant stops blooming.: Deadhead more diligently by removing the entire flower head, including the swollen base where seeds form, once or twice a week. Cut back to the next healthy leaf or side shoot. If the plant has become wiry, cut the whole stem back by one-third to stimulate a fresh flush of growth and flowers.
- White, cottony masses appear in the leaf axils, and leaves look sticky.: These are mealybugs. Dab each white mass with a cotton swab dipped in rubbing alcohol (isopropyl) to kill the insects, and wipe off sticky honeydew. Then spray the plant with a weak soapy water solution every 5 days. Isolate the plant from others to prevent spread, and check nearby pots.
- The soil surface has a white crust or green moss, and the plant looks stunted.: White crust is often from hard water minerals or excess fertilizer; green moss indicates constant moisture. Scrape off the crust, stop fertilizing for a month, and allow the soil to dry out between waterings. If moss is present, reduce watering frequency and ensure the pot has good drainage. Repot in fresh mix if the crust is thick.
Advanced Tips
- Install a tiny drip irrigation system with a timer to ensure consistent watering while you are away. Set it to water early morning, and use a moisture sensor probe to adjust the frequency according to rainfall and temperature.
- Incorporate ornamental grasses or silver-leaved plants like dusty miller for texture contrast. Their fine leaves or fuzzy textures create visual depth even when flowers are between bloom cycles.
- At the end of the season, take stem cuttings from your favorite annuals, like coleus or trailing lobelia. Root them in water in a sunny windowsill, and you will have free plants ready for next spring.
Final Checklist
- I have confirmed that my patio spot receives at least six hours of direct sunlight, or I chose shade-tolerant plants accordingly.
- I have selected one thriller, three fillers, and two spillers, and I planted them in a container with good drainage and premium potting mix.
- I have watered my container thoroughly after planting and have checked the soil moisture daily for the first week.
- I have set a twice-weekly reminder to deadhead and a weekly reminder to inspect for pests, and I know how to adjust watering and feeding as the season progresses.
FAQ
How often should I fertilize my patio container plants?
If your potting mix contains slow-release fertilizer, you may not need extra feeding for the first six weeks. After that, apply a water-soluble fertilizer for flowering plants every two weeks, or follow the package directions. Always dilute the fertilizer to the recommended strength and apply to moist soil to avoid burning roots. Watch for yellow leaves or slow growth, which indicate a need for feeding.
What if I don't have a sunny spot? Can I still have color?
Yes, choose shade-loving plants like impatiens, begonias, fuchsias, and coleus. These will bloom well in four to six hours of morning sun or dappled light. Avoid sun-lovers like petunias and zinnias, as they will become leggy and produce few flowers. You can still use the thriller-filler-spiller formula, but choose foliage plants like caladiums or ferns as fillers.
Why do my flowers stop blooming after a few weeks?
This is usually due to lack of deadheading, insufficient fertilizer, or too much heat. When you remove spent flowers, the plant does not waste energy on seeds and instead produces new buds. Feed every two weeks with a bloom-boosting fertilizer, and if the weather is extremely hot, provide afternoon shade. Also, check that the plant is not root-bound; if roots fill the pot, repot into a larger container.