Common Mistakes When Planning A Drainage Check After Heavy Garden Rainfall
A practical step-by-step guide to common mistakes when planning a drainage check after heavy garden rainfall, including preparation, instructions, common issues, tips, and next steps.
Common Mistakes When Planning A Drainage Check After Heavy Garden Rainfall
After heavy garden rainfall, a drainage check is not just about looking for puddles. Many gardeners make simple mistakes that lead to waterlogged soil, damaged plants, and even foundation problems. Their checks are often too shallow, too late, or focused on the wrong areas. This guide walks through the common planning mistakes, how to prepare for a check, what to look for in a logical order, and how to interpret your findings. You will learn about the importance of testing soil drainage, checking slopes, inspecting downspouts, and understanding your garden's natural water flow. By following these steps, you can turn a muddy mess into a healthy landscape. The guide gives clear actions, practical tips, and quick references to help you avoid typical errors and make confident decisions about improving your garden's drainage.
Fast Answer
- Walk your entire garden after heavy rain, but wait at least 24 hours so the water has time to settle, then focus on areas where water collects for more than a day.
- Test soil drainage by digging a small hole and filling it with water; if it takes longer than 24 hours to drain, you likely need to improve aeration or add organic matter.
Before You Start
- Wait at least 24 to 48 hours after heavy rain before starting your check; this allows puddles to shrink and reveals the areas that truly hold standing water.
- Gather simple tools: a spade, a small trowel, a hose or bucket of water, a tape measure, and a notepad or phone for recording observations.
- Put on rubber boots and gloves, and have a flashlight ready for inspecting dark corners like under decks, steps, or inside crawl spaces.
- Review your property's drainage plan if you have one, or sketch a simple map showing slopes, low points, and existing drains, so you know what to inspect first.
Step-by-Step Instructions
Map Your Garden's Natural Water Flow
Start by walking the entire garden, not just the visible puddles. Look for the general slope of the land. Note where the highest and lowest points are, and imagine where water would naturally travel during a downpour. In many gardens, water moves from the roof downspouts, across lawns, and toward a street or drain. However, a small patch of lawn may have a hidden depression that collects water. Use your sketch or a phone app to mark these areas. Pay attention to the direction of the slope and any barriers like fences, walls, or thick shrubbery that block natural flow. This step is crucial because you cannot fix drainage if you do not know where water wants to go. By identifying the natural paths, you can determine where to add swales or redirect downspouts. Ignoring this can lead you to install a drain in the wrong place, wasting time and effort.
Inspect Your Downspouts and Gutters
Check every downspout that carries water from your roof. Make sure it is not clogged with leaves, twigs, or debris. If your gutters are full, water will overflow and pour directly next to the foundation, causing severe erosion. Look at the end of each downspout: is it directed away from the house? A downspout should discharge at least 2 meters from the foundation, ideally onto an area that slopes away. If it discharges too close, water can seep into the basement. Also inspect the joints of the downspout—leaks can spray water onto the wall. Run a hose from the roof to simulate rain and watch where the water exits. If you see it pooling near the foundation, you need to extend the downspout or add a splash pipe. This inspection is critical because roof water is often the largest source of excess water in a garden, and fixing downspouts is one of the simplest and most effective drainage improvements.
Dig a Test Hole to Understand Your Soil
Choose a spot where water tends to sit, ideally not too close to buildings or trees. Use a spade to dig a hole about 30 centimeters deep and 15 centimeters wide. Fill the hole with water from a bucket or hose, and time how long it takes for the water to completely drain. If it drains within 10 minutes, your soil is fast-draining, which is excellent. If it takes between 10 and 30 minutes, you have moderate drainage. If it takes more than an hour, you have slow-draining soil, which will likely cause waterlogging after heavy rain. After the first fill, refill the hole and time again—the second fill is more accurate because the initial fill wets the soil. This simple test tells you whether your soil is sandy, loamy, or clay-heavy. Clay soil drains very slowly because its particles are small and pack tightly. Knowing your soil type helps you decide whether to add organic matter, install a French drain, or create a rain garden.
Examine Slopes and Low Points for Puddles
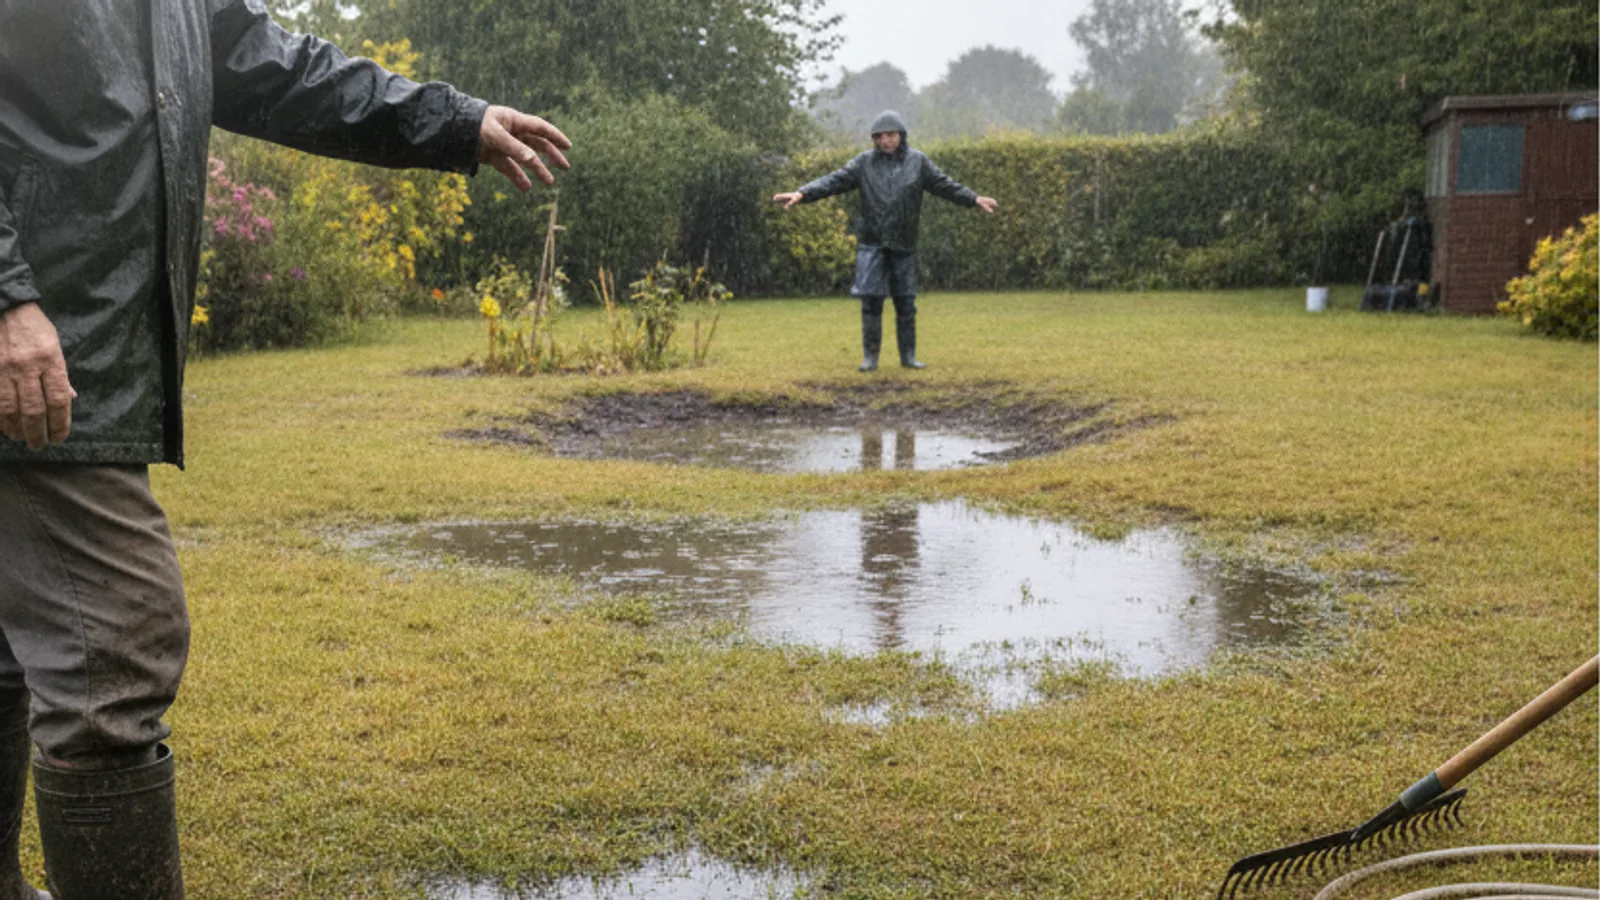
After the rain, walk every part of your lawn and garden. Look for areas where water remains pooled on the surface. Puddles that disappear after a few hours are less problematic, but puddles that last for more than 24 hours indicate a severe drainage problem. Use a tape measure to measure the depth of standing water— anything more than 2 centimeters is significant. Also, check the slope of the land. The soil should grade away from your house at a rate of at least 5% for the first 2 meters. If your garden has a depression, water will sit there, encouraging weeds and mosquitoes. Low spots often form naturally or after soil settlement. Mark each puddle area on your map. Then, consider whether the puddle is caused by a lack of slope, compacted soil, or a high water table. If the entire garden floods, you may need a more complex solution like a sump pump, but for isolated low spots, you can often regrade the soil or install a simple surface drain.
Test Drainage Around Your House Foundation
Pay special attention to the soil immediately surrounding your home. The ground should slope away from the foundation in all directions. Use a level or a simple string line to check the gradient. Place a stake at the foundation and another 1.5 meters out, then run a string between them with a level attached. The string should show a drop of at least 5 to 8 centimeters over that distance. If the ground is level or slopes toward the house, water will seep into the basement or crawl space. Also, check for any cracks in the foundation or gaps around pipes. Water can easily enter through these openings. Look for efflorescence (white, chalky powder) on the basement walls, which indicates water penetration. If you find any issues, you may need to regrade the soil, install a French drain, or add a waterproof membrane. This check is vital because water damage to a foundation is expensive to repair.
Inspect and Clear Existing Drainage Systems
If you already have drains—like French drains, catch basins, or dry wells—check that they are functioning properly. Lift the grate of a catch basin and dig out leaves, mulch, and soil that may have washed in. You can use a hose to flush out the drain pipe and see if water flows freely. Look for any signs of blockage, such as water backing up around the grate. Also, check the outlet of a French drain: it should be clear and above ground. If you have a dry well, probe it with a stick to see if it is filled with sediment. Many drainage systems fail simply because they are clogged. Regular cleaning after heavy rain is essential. If a drain is not working, you might need to excavate and replace it. But, first try clearing it with a high-pressure hose or a drainage snake. Keeping existing drains clear is much cheaper than installing new ones.
Quick Reference
| Situation | Action | Why it helps |
|---|---|---|
| Water pools in a low spot on the lawn for more than 24 hours after heavy rain. | Use a garden spade to cut around the low spot, remove the sod, and add a mix of topsoil and compost to raise the area, then reseed or resod. | Raising the low spot creates a proper slope so that water can flow to a lower drainage point instead of sitting and damaging roots. |
| Downspout discharge lands within 30 cm of the foundation. | Attach a flexible downspout extension or a splash block, and direct the water at least 2 meters away toward a well-draining area or a rain garden. | Moving water away from the foundation prevents hydrostatic pressure that can cause cracks and basement seepage. |
| Your soil drains very slowly, with a test hole not draining overnight. | Dig a shallow trench, about 30 cm deep, from the waterlogged area to a lower spot, and fill it with 3-5 cm of crushed gravel, then top with soil. | A gravel-filled trench, commonly called a French drain, gives water a path to flow away, reducing waterlogging and protecting plant roots. |
Common Issues
- The entire garden becomes a swamp after rain, not just one spot.: This is often caused by a high water table or heavy clay soil. Install a soaker hose or a drainage pipe connected to a dry well, and incorporate generous amounts of compost to improve soil structure. If the problem persists, you may need a residential sump pump.
- You have a drainage pipe, but water still backs up.: First, assume the pipe is clogged. Flood it with a high-pressure hose, use a plumbing snake to dislodge roots or debris, and check the outlet for obstructions. If that does not help, the pipe may have collapsed or the slope is wrong, so you might need to dig it up and re-lay it.
- You have a lot of mosquitoes around the garden after rain.: Mosquitoes breed in standing water, so the real issue is drainage. Eliminate any puddles that last more than 3 days, clear blocked gutters, and fill in low spots. In water that cannot be removed, use a mosquito larvicide like BTI granules, which are non-toxic to pets.
Advanced Tips
- Consider building a rain garden in a natural low spot. Plant water-tolerant native shrubs and perennials there, and let the garden act as a soakaway for roof runoff.
- For a long-term solution, install a perforated drain pipe wrapped in landscape fabric inside the longest trench you need. Angle the pipe at 1% slope and terminate it in a buried discharge pit.
- Test the pH and nutrient content of your soil during the drainage check. Waterlogged soil often loses nutrients, so a soil test helps you amend it effectively for healthier plants.
Final Checklist
- Map the natural flow of water on your property and mark all low spots or barriers.
- Inspect all downspouts and gutters for clogs, and ensure they discharge at least 2 meters from the foundation.
- Dig a 30-centimeter test hole and time the drain rate; note whether the soil is clay- or sand-heavy.
- Clear silt and leaves from all existing catch basins, French drains, and dry wells, and flush with a hose to verify they work.
FAQ
How long should I wait after heavy rain before doing a drainage check?
Wait at least 24 hours, but 48 hours is better. This allows the surface water to settle, so you can see which puddles persist and which areas remain soggy. Checking too early can mislead you, as everything looks wet. Additionally, the soil needs time to absorb as much as it can. If you wait too long, you might miss the problem spots. A good compromise: check at both 24 and 48 hours, and mark where water stays after 48 hours. Those are the critical areas.
What does a quick soil drainage test involve?
Dig a hole 30 centimeters deep and 15 centimeters wide. Fill it with water and time how long it takes to drain completely. If it drains in under 10 minutes, you have fast drainage. Under 30 minutes is good. If it takes over an hour, water will sit on the surface. After the first fill, the soil is wet, so refill it and time again—this is more accurate. This test tells you if your soil is sandy, loamy, or clay-like, which determines what drainage fixes you need.
How can I tell if water is damaging my house foundation?
Look for cracks in the foundation, especially vertical cracks on the interior or exterior walls. Check the basement floor for damp spots or a white, powdery residue called efflorescence. Also, test the slope: the ground should drop at least 5 centimeters within 1.5 meters of the wall. Use a level or string line. If you see water pooling near the foundation, or you notice a musty smell in the basement, you likely have a water issue that needs attention.