Common Mistakes When Planning A Practical Garden Tool Storage Setup
A practical step-by-step guide to common mistakes when planning a practical garden-tool storage setup, including preparation, instructions, common issues, tips, and next steps.
Common Mistakes When Planning A Practical Garden Tool Storage Setup
Planning a practical garden-tool storage setup involves more than choosing a shed or a pegboard. Common mistakes include ignoring tool weight, overlooking moisture control, and failing to plan for accessibility. This guide walks you through the essential steps to avoid these pitfalls, from assessing your tool collection to organizing by frequency of use, ensuring a safe, efficient, and long-lasting storage solution.
Fast Answer
- Start by sorting tools into categories by weight and frequency of use, then choose a storage location that keeps them dry and easily reachable.
- Measure your tools and space before buying or building anything, and always plan for future additions to avoid overcrowding.
Before You Start
- Inventory your tools: list every tool you own, including handles, blades, and accessories, and note their approximate size and weight.
- Assess your available storage space: measure the dimensions of your shed, garage, or wall area, and consider door swings and clearance.
- Consider moisture and temperature: think about whether your storage area gets damp, leaks, or has extreme temperatures that could affect tools.
- Define your workflow: think about which tools you use most often, especially seasonal ones, and how you want to access them (e.g., hanging, shelving).
Step-by-Step Instructions
Sort and Categorize Your Tools
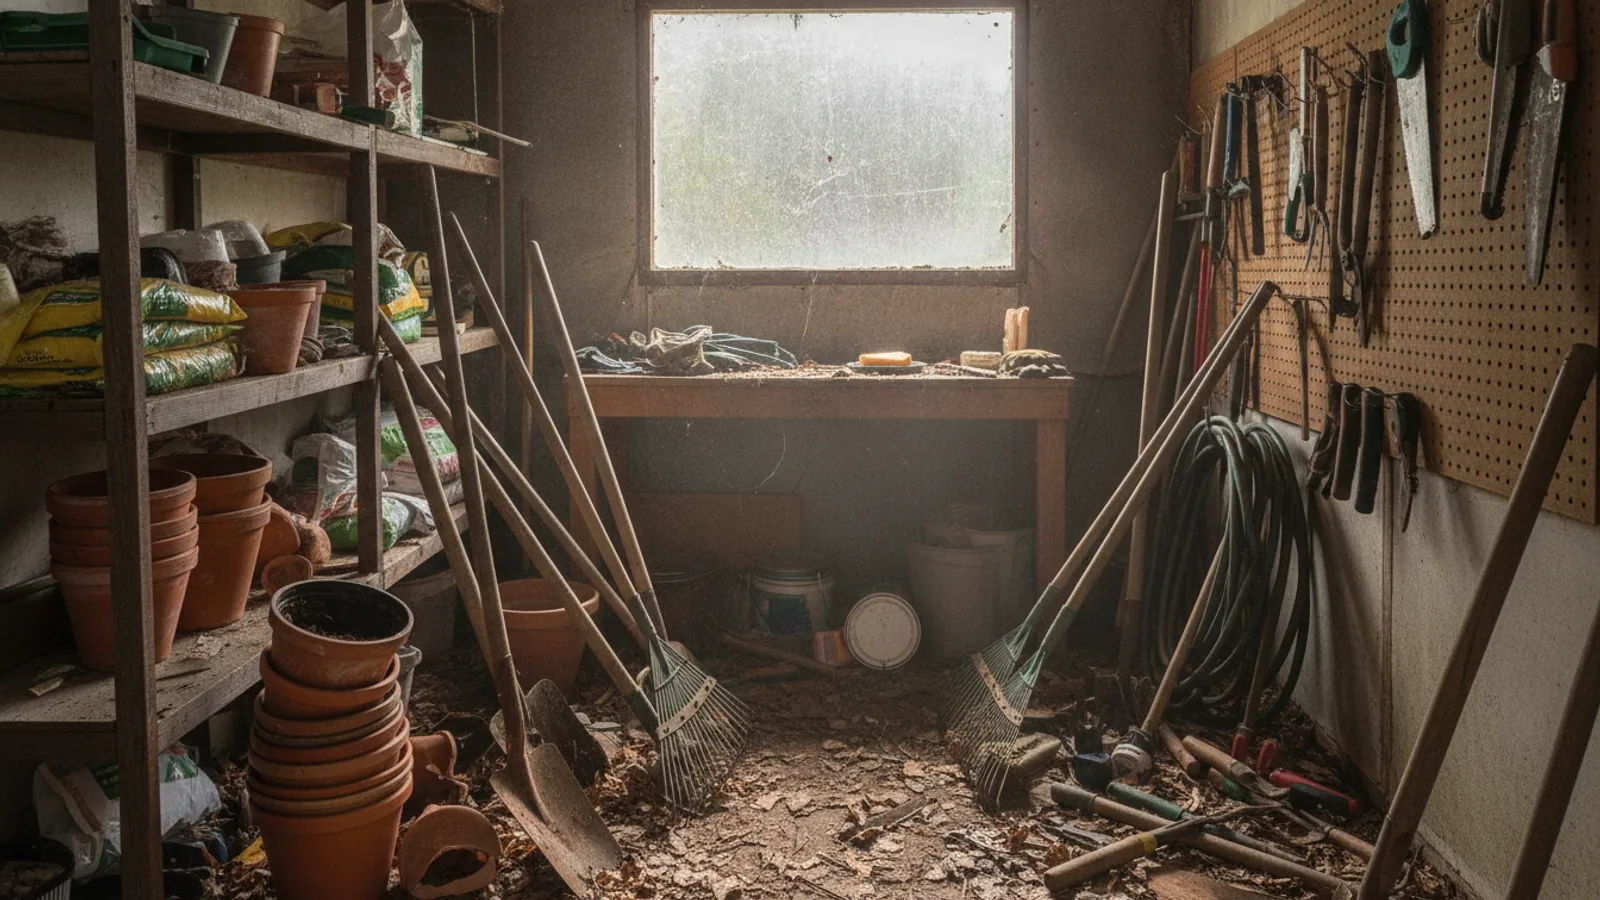
Begin by gathering every garden tool you own and laying them out in a clear area. Group them by function: digging tools (shovels, spades, forks), cutting tools (pruners, shears, saws), raking and sweeping tools (rakes, brooms), and power tools if any. Also, separate tools by size and weight – heavy long-handled tools like shovels and heavy rakes need sturdy support, while small hand tools like trowels and pruners can be stored in bins or on pegboards. Finally, note which tools you use most frequently, as these should be placed in the most accessible spots. This sorting process helps you understand exactly what you need to store and prevents you from building unnecessary storage that doesn't fit your actual collection.
Measure Tools and Space
Use a tape measure to record the length, width, and height of your largest tools, especially long-handled ones like shovels and rakes. Also measure the total depth of your tool heads, such as the fork tines or rake width, because these affect how close to a wall you can hang them. Next, measure your available storage space: the floor area, wall width, and ceiling height. Remember to account for required clearance – for example, a lean-to shed might have sloped ceilings that reduce usable height. Write down these measurements and compare them to the dimensions of the storage units you plan to buy or build. This step prevents the common mistake of purchasing shelving that's too shallow for your tools or hanging hooks that don't accommodate longer handles.
Plan for Moisture Control
Before installing any storage, inspect your chosen area for signs of dampness, such as condensation on walls, musty smells, or water stains. If you find any, address the source first. For a shed, this might involve fixing roof leaks, improving ventilation with vents or a louvered window, and raising tools off the floor. For a garage, ensure the area is dry and consider using moisture absorbers or a dehumidifier in humid climates. When designing storage, include features that promote airflow: keep tools at least a few inches away from walls, use slatted shelves that allow air circulation, and avoid storing tools directly on concrete floors. This proactive moisture control is critical because rust can ruin tools quickly, and wooden handles can swell, crack, or rot, making them unsafe to use.
Choose Storage Furniture That Fits
Based on your measurements and tool groups, select or build storage units that match your needs. For long-handled tools, consider a vertical rack with individual slots or a wall-mounted holder with clips or hooks to secure each handle. Use sturdy metal or wood brackets that can support the weight of your heaviest tools. For small hand tools, use a pegboard with appropriate peg hooks, or clear plastic bins with labels on shelves. Ensure that all storage units are securely anchored to the wall or floor, especially if they'll hold heavy tools. Before permanently installing, do a dry run: place your tools on or in the unit to verify they fit and are easy to remove and return. This prevents the frustration of a setup that looks good but doesn't function well.
Organize by Frequency of Use
Place the tools you reach for most often – like a hand trowel, pruners, and a favorite spade – in the most convenient spots: at waist height, near the door, or on a front-facing pegboard. Tools used only occasionally, such as post-hole diggers or pruning saws, can be stored higher up, on deeper shelves, or in harder-to-reach corners. Seasonal tools, like leaf rakes or snow shovels, should be separated and stored near the door but in a designated area to avoid mixing with year-round tools. This layout saves you time and effort every time you garden, and it also reduces the chance of tripping over rarely used tools that are left out. Giving each tool a 'home' makes it easier to maintain order.
Install Safety and Accessibility Features
Once your tools are in place, add features that make the storage area safe and easy to use. Ensure that sharp edges – like tines of rakes or blades of pruning saws – are facing inward or covered with guards to prevent cuts. Install a simple locking mechanism on the door if you have children or if tools are expensive; a basic hasp and padlock can deter theft. Also, place a step stool or small ladder nearby if you need to reach high shelves. Make sure there's adequate lighting, either by installing a battery-operated light or ensuring a window is clear. Finally, test the accessibility by simulating your typical gardening routine: grab a tool, use it, and put it back. Adjust any hook heights or shelf positions if needed to avoid awkward reaches or bends.
Quick Reference
| Situation | Action | Why it helps |
|---|---|---|
| You have a large collection of long-handled tools that keep falling over. | Install a wall-mounted vertical rack with individual slots or U-shaped holders that grip each handle and support the tool's weight, spacing them at least 10 inches apart. | This prevents clutter, reduces the risk of injury from falling tools, and makes it easy to see and grab each tool without disturbing others. |
| You notice rust forming on your tools even though they are stored indoors. | Immediately clean and dry the tools, then apply a light coat of oil (like mineral oil) to metal parts, and ensure the storage area has good ventilation and low humidity using vents or a dehumidifier. | Rust spreads quickly and weakens metal, so regular maintenance and moisture control extend the life of your tools and keep them safe to use. |
| Your shed space is limited, but you have many small hand tools that are easy to misplace. | Mount a pegboard on an inside wall and assign a specific hook or slot for each hand tool, using a marker to outline the tool's shape on the board as a visual guide. | This maximizes vertical space, keeps small tools visible and organized, and makes it obvious where each tool belongs, reducing loss and saving time searching. |
Common Issues
- Storing tools directly on the floor, causing them to get wet and dirty.: Use shelves, racks, or a dedicated floor standing tool holder that keeps tools off the ground. If you must store on the floor, lay a plastic mat or pallet to elevate them, and ensure the area drains well.
- Overloading shelves with heavy tools, leading to sagging or collapse.: Check the weight capacity of each shelf and distribute heavy tools on lower or sturdier shelves. Use metal shelving rated for heavy loads, and avoid stacking more than two layers of heavy tools on one shelf.
- Not considering the reach of your tools when placing hooks, causing you to stretch too far or struggle to hang them.: Install hooks at a height that is comfortable for you, considering the length of the tool handle. Test by lifting the tool up to the hook as if you were hanging it, and adjust the height so you don't have to tip-toe or bend awkwardly.
Advanced Tips
- Implement a seasonal rotation: store warm-season tools like hoes and trowels in an accessible spot during summer, and swap them with cold-season tools like snow shovels when winter approaches.
- Use a shadow board, which is a pegboard with painted outlines of each tool, to instantly see if any tool is missing from the storage area.
- Consider a magnetic strip for metal hand tools like pruners and trowels, but only if the area is dry to avoid rust; apply a rust-inhibiting oil regularly.
Final Checklist
- Confirm all tools are clean, dry, and lightly oiled before storing to prevent rust and extend their life.
- Verify that every heavy tool is placed on a sturdy support that is securely anchored to the wall or floor, with weight capacities not exceeded.
- Ensure that at least 12 inches of clearance exists around the storage area for easy access and airflow to reduce moisture buildup.
- Label and organize storage spots so that any tool can be retrieved and returned in under 30 seconds, improving convenience and maintenance.
FAQ
What is the best way to store long-handled tools without buying a rack?
If you prefer not to buy a rack, you can create a simple DIY solution using wall-mounted clips or hooks, or even use a bucket of sand or gravel to hold the handles upright. Ensure the bucket is heavy enough to support the tools and that it's placed in a dry area. Secure the bucket to the wall or floor to prevent tipping, and regularly check for moisture in the sand to avoid handle rot.
How can I prevent my tools from rusting in a humid garage?
Start by reducing humidity using a dehumidifier or silica gel packets. Apply a protective coating, like a mixture of sand and oil, to metal parts, or use a rust-preventive spray. Wipe tools dry after each use and store them in a sealed container with moisture absorbers, or wrap them in an oil-soaked cloth. Also, ensure good airflow by keeping vents open and using a fan if needed.
Should I hang tools by the handle or by the head?
For most long-handled tools, hanging by the handle is best because it keeps the tool head off the ground, preventing damage and making it easier to grasp. However, for tools with heavy heads that might strain the handle, like a sledgehammer, support them by the head as well. For hand tools like trowels, hang them by the handle to keep the sharp edge from being blunted against walls.