How To Choose A Drainage Check After Heavy Garden Rainfall
A practical step-by-step guide to how to choose a drainage check after heavy garden rainfall, including preparation, instructions, common issues, tips, and next steps.
How To Choose A Drainage Check After Heavy Garden Rainfall
This guide helps you choose the right drainage check after heavy garden rainfall. It covers assessing water flow, selecting surface or subsurface drains, planning for slope and soil, and maintaining your system. You will learn practical steps to prevent waterlogging and protect your garden, with tips for troubleshooting common issues.
Fast Answer
- After heavy rain, observe where water pools, then choose a surface drain like a channel for hard surfaces or a French drain for soft ground.
- Consider installing a drainage check, such as a catch basin or inspection chamber, at low points to capture debris and allow easy maintenance.
Before You Start
- Walk your garden after rain and mark areas where water accumulates for more than an hour.
- Check the natural slope of your garden using a level and a long board to see how water moves.
- Decide whether your drainage issue affects hard surfaces like patios or soft areas like lawns.
- Gather tools for digging and installing, such as a spade, gravel, pipe, and a drain cover.
Step-by-Step Instructions
Assess the Water Flow in Your Garden
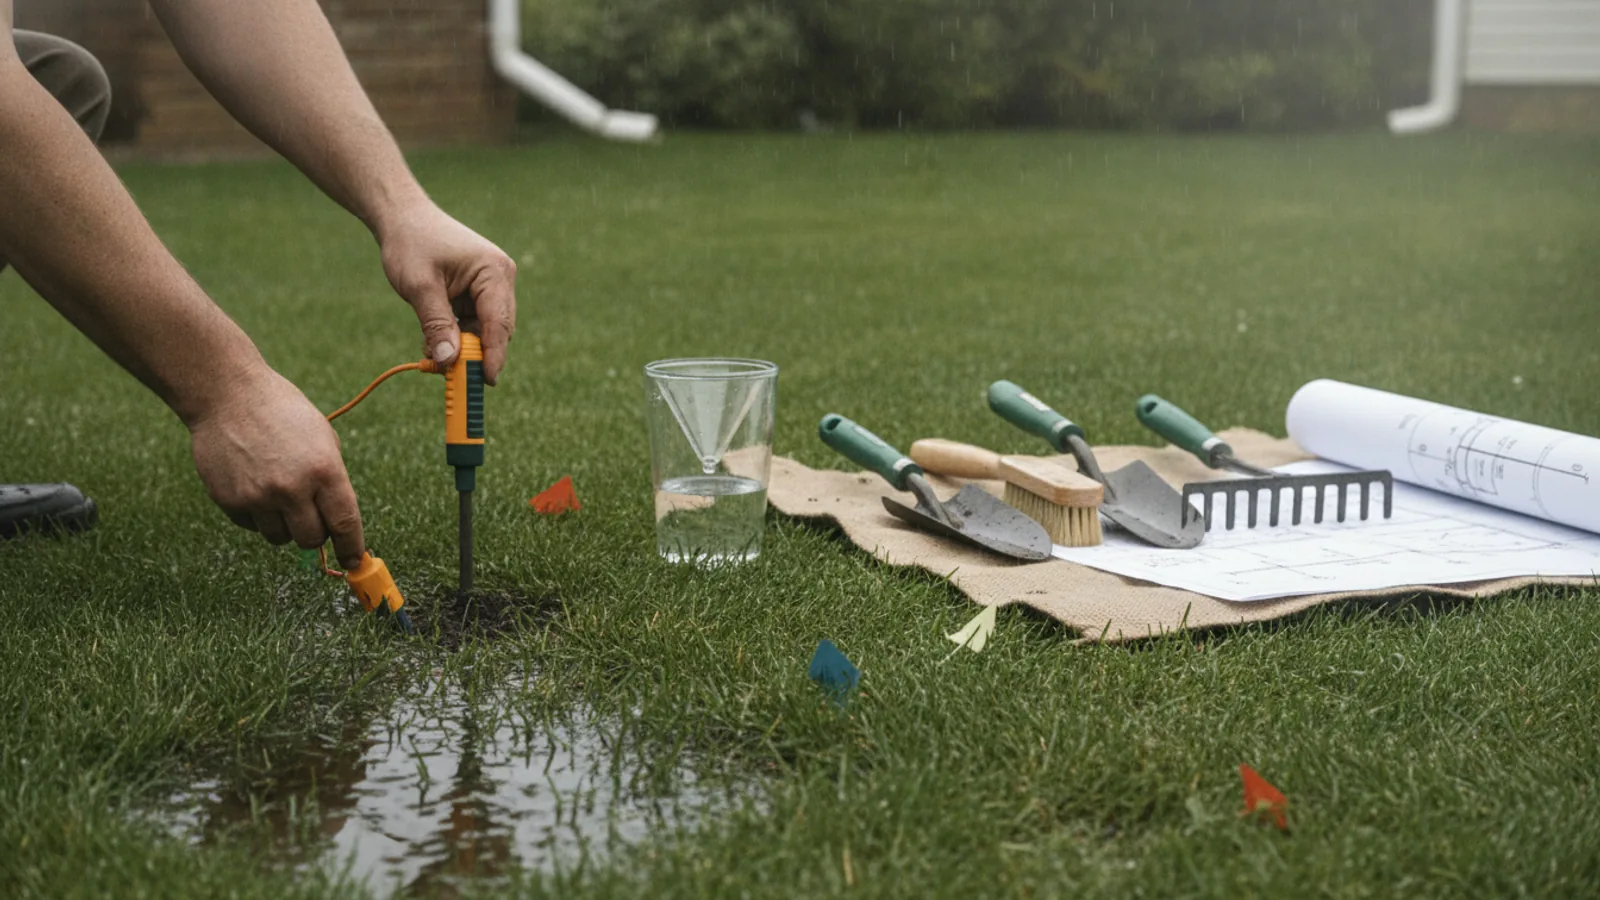
Walk around your garden during or right after heavy rain and observe exactly where water collects and how it moves. Use a notebook to sketch the area, marking each puddle, the direction of runoff from roofs and paths, and any spots where soil stays soggy for hours. To evaluate the slope, place a long, straight board on the ground and place a spirit level on top; read the bubble to see if water should drain left, right, or not at all. This survey tells you the low points and flow paths, which are the most logical places to install a drainage check. A well-placed check at a low point catches debris and allows you to inspect and clean the system. Without this assessment, you might install a drain where water rarely flows, wasting effort and money.
Choose the Drain Type for Your Surface
Decide on the drainage check type based on the surface and amount of water. For hard surfaces like patios, driveways, or paths, a linear channel drain with a removable grate is best because it can be placed flush and captures sheet flow. For soft areas like lawns or borders, a French drain made with perforated pipe and gravel works well, and its catch basin can act as a check point. If you have a concentrated flow from a downspout or a very low spot, install a catch basin with a sediment bucket and a baffle. This choice matters because a check that is too small will overflow, and one that is too large may be unsightly or unnecessary. Match the width of the channel or basin to the expected water volume, which you can estimate by the size of the contributing area and the intensity of the rain you receive.
Plan the Drainage Path and Outfall
Trace where the water will go after passing through your drainage check. Ideally, the outlet should be at a lower point, such as a storm sewer connection, a drainage ditch, or a rain garden. Use a line level and string to establish a consistent slope of at least 1 percent, meaning a drop of about one foot for every 100 feet, for most pipes. Check your local regulations to see if directing water to a neighbor's yard or public street is allowed. During planning, mark the path and dig a test trench to see if you encounter roots, rocks, or utility lines. A properly planned outfall prevents water from simply pooling elsewhere. If you let water flow to a low point that cannot absorb it, you create a new problem, so always confirm the receiving area has good infiltration or a connection to a suitable outlet.
Select the Right Drain Size and Materials
Choose the size of your drain based on the catchment area and the intensity of rainfall you expect. For a typical home garden, a 100-mm wide channel drain is often adequate for patios, while a 150-mm pipe works for larger lawns. For the pipe, use PVC or corrugated polyethylene with perforations if it's a French drain. The drainage check itself can be a catch basin, an inline leaf trap, or a cleanout access point. Make sure the grate is removable and the basin has a solid bottom or a sediment bucket to collect debris. Consider the soil type: clay soils drain slowly, so you might need a larger pipe, while sandy soils absorb quickly. Your choice affects how easy it is to clean and how long it lasts. Selecting a durable material that fits your existing system prevents frequent damage and cost down the line.
Install the Drainage Check with Proper Technique
Excavate a trench wide enough to fit the drain and pipe, typically 30 cm wide and at least 20 cm deep to allow for a gravel bed. Lay a solid base of compacted gravel, then place the drainage check so its top is flush with the ground surface. Connect the outlet pipe with a glued joint, ensuring a downhill slope. For a French drain, wrap the pipe in filter fabric, add gravel around it, and cover with soil. When installing a catch basin, set it in concrete to keep it stable, and attach a riser if needed. After placement, run water from a hose through the system to verify it flows freely and does not leak. Proper installation prevents shifting and settlement, which can create gaps and cause water to bypass the drain. If the check is not level or the pipe sags, water will collect and undermine the drain.
Test and Maintain Your Drainage Check
After installation, conduct a simple test during the next rain and also manually with a hose. Check that water enters the drain without overflowing, and that no puddles form around the check. Open the basin lid and look inside to see if debris is accumulating, and clean the sediment bucket or strainer. Over time, leaves, soil, and roots can block the system, so plan to inspect it at least twice a year, before winter and after spring. If you notice slow draining or standing water, use a plumber's snake to clear blockages or flush the line with a pressurized hose. Regular maintenance ensures your drain works when needed and prevents costly repairs. A well-kept drainage check protects your garden from water damage and contains mosquito breeding grounds.
Quick Reference
| Situation | Action | Why it helps |
|---|---|---|
| Water pools on a concrete patio after rain, but the area is flat. | Install a linear channel drain along the edge of the patio where water collects, running to a nearby lower area or a dry well. | A channel drain efficiently captures water over a wide area and directs it away, preventing puddles and slipping hazards. |
| A low spot in the lawn remains soggy for days after rain. | Install a French drain with a catch basin and perforated pipe that outlets to a rain garden or steep slope. | A French drain collects groundwater and directs it downward and away, promoting infiltration and preventing long-term moisture damage to grass. |
| Roof downspouts discharge water too close to the house foundation. | Attach a downspout extension and connect it to an underground pipe that leads to a drainage check and then to a municipal sewer outlet, if allowed. | This action moves roof water far from the foundation, reducing basement flooding and soil erosion around your home. |
Common Issues
- Water still pools after installing a drain, even though it's in the same spot.: Check that the drain has the correct slope and that the outlet is not blocked. Use a level to verify proper gradient, and run a hose to test flow.
- The drainage check's grate is frequently clogged with leaves and debris.: Install a leaf guard or a hairpin filter, and clear the grate regularly. Also, trim overhanging branches to reduce debris entering the drain.
- The drainage pipe has settled and created a dip where water collects.: Dig out the area, recompact the gravel base, and re-lay the pipe with a consistent slope. Ensure that backfill is compacted properly with a tamper.
Advanced Tips
- Consider installing a dry well at the end of your drainage system to help water infiltrate slowly into the soil, especially in areas where municipal sewers are not available.
- Design your drainage check with an inspection chamber and cleanout to allow easy access for maintenance, and consider adding a backwater valve to prevent sewer backup during heavy storms.
- To manage heavy stormwater, integrate a rain garden or bioswale in your landscape design; these features use native plants to absorb water before it reaches your drainage check.
Final Checklist
- Verify that you have located all underground utilities before digging.
- Check that the drainage check is installed with the correct slope (at least 1%).
- Test the system with a full bucket of water and confirm it drains quickly without overflowing.
- Create a maintenance schedule to clean the catch basin and inspect the system twice a year.
FAQ
What is a drainage check and why is it needed?
A drainage check is an access point or inspection chamber installed in your drainage system to remove debris, inspect flow, and maintain the pipe. It is needed to prevent clogs and to allow for cleaning and troubleshooting, ensuring that heavy rainfall does not cause flooding or damage to your garden.
How do I know if my garden needs a drainage check?
If you observe standing water, soggy areas that last more than a day, or signs of erosion after heavy rain, you likely need improved drainage. A drainage check can be added to an existing system or installed new to manage water flow and protect your garden from waterlogging.
Can I install a drainage check myself, or should I hire a professional?
You can install a simple surface drain or a French drain yourself if you are comfortable with digging and basic plumbing. For complex installations involving connection to municipal sewers or handling large amounts of water, it is wise to consult a professional to ensure proper design and compliance with local codes.