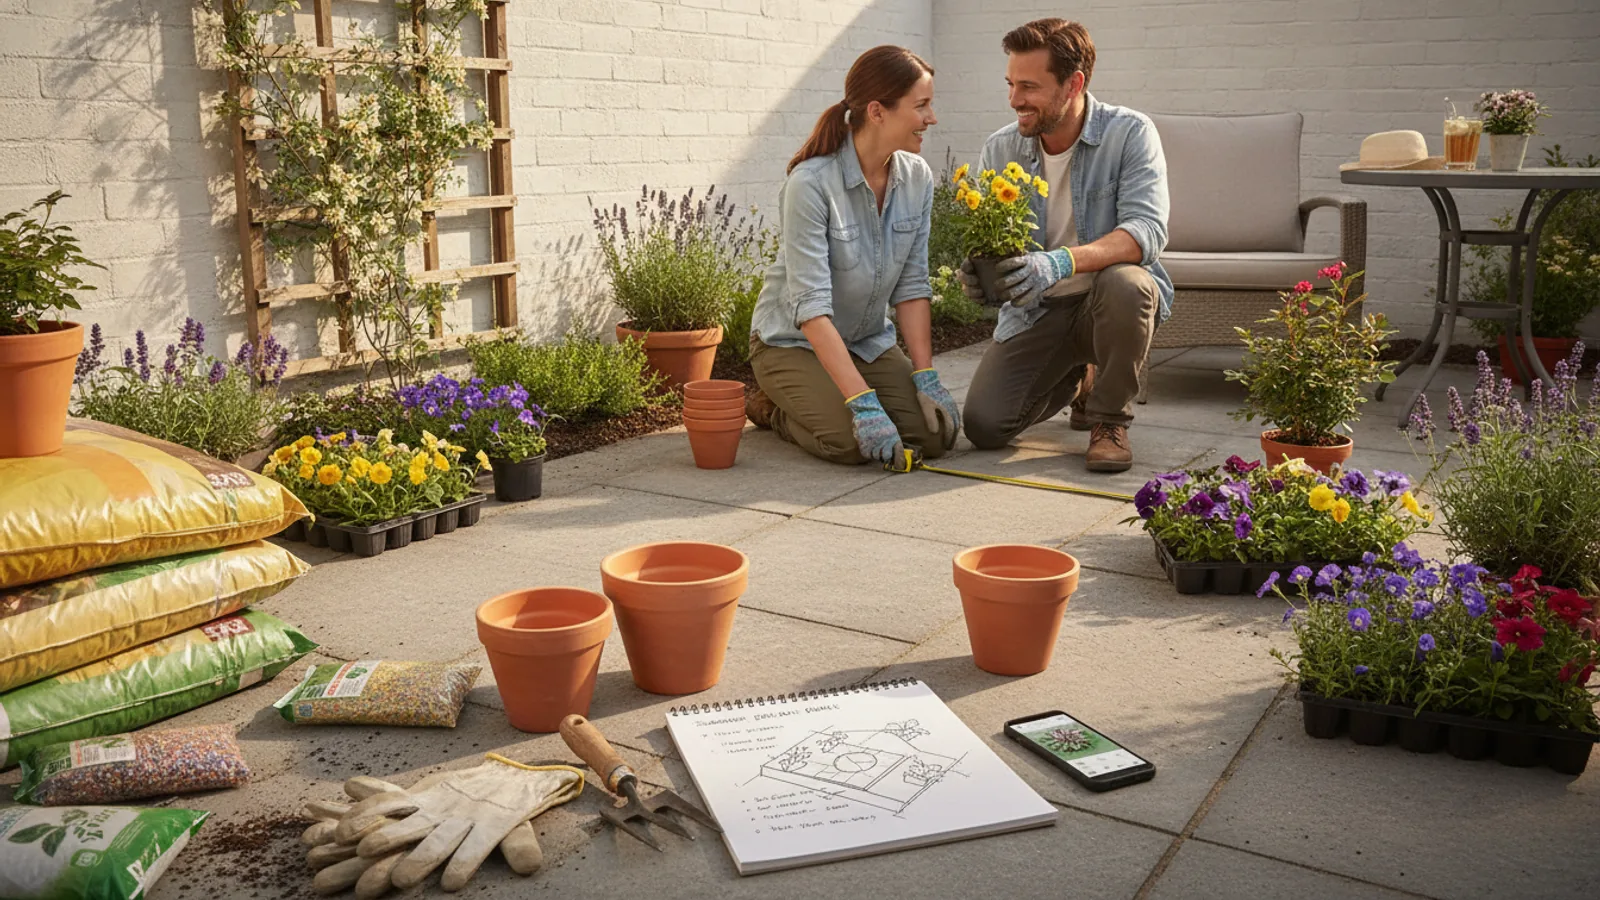
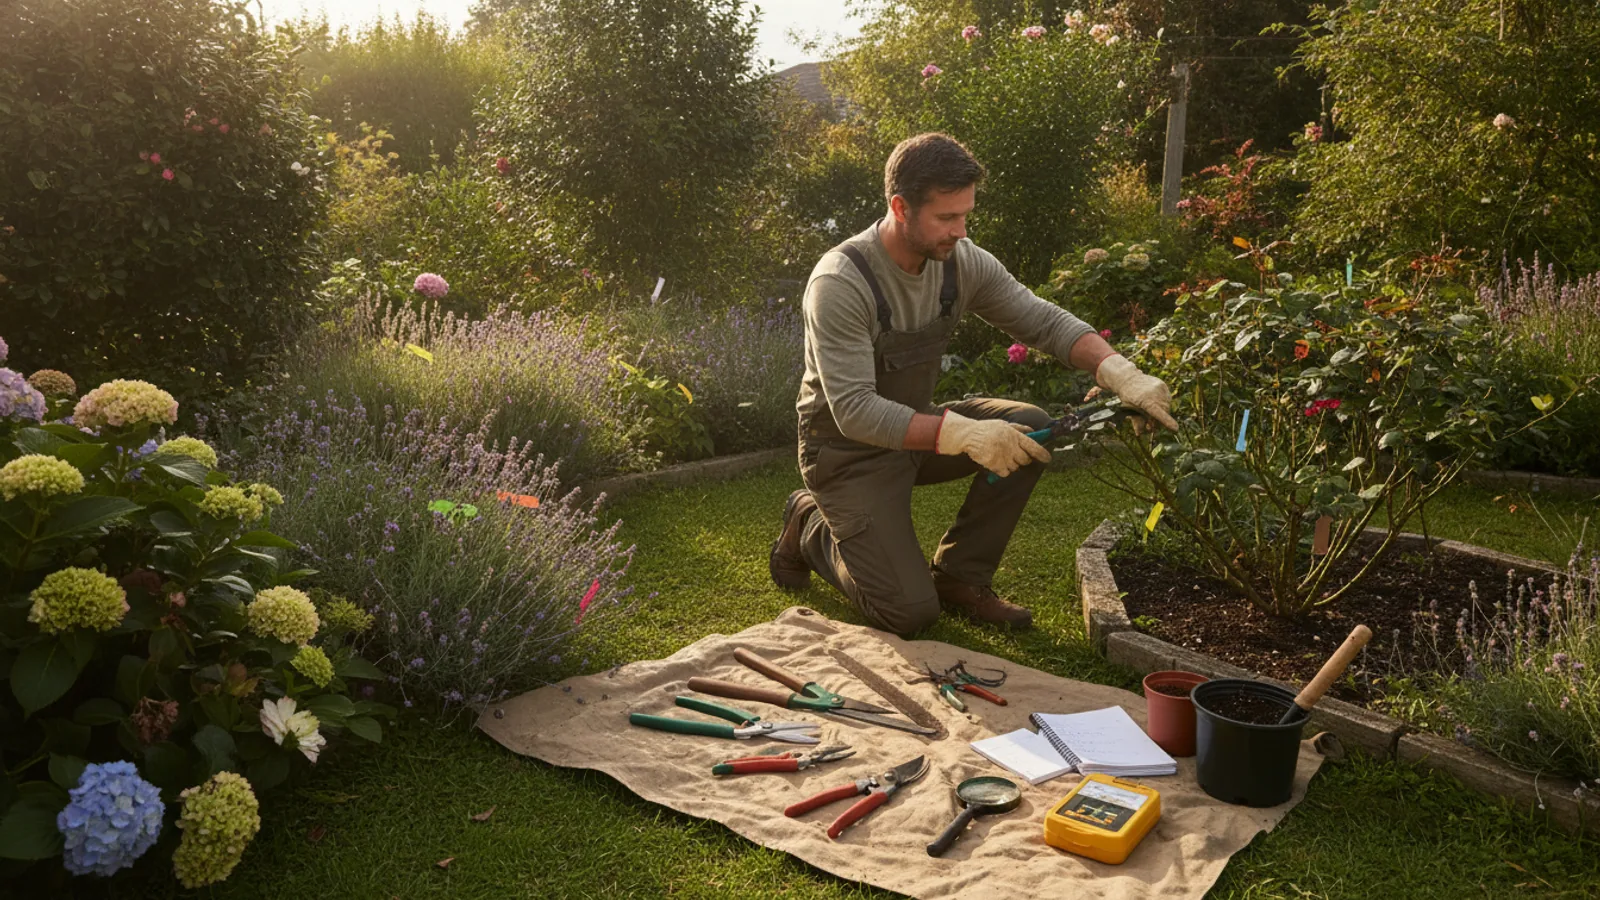
What To Check Before A Practical Garden Tool Storage Setup
A practical step-by-step guide to what to check before a practical garden-tool storage setup, including preparation, instructions, common issues, tips, and next steps.
What To Check Before A Practical Garden Tool Storage Setup
Before you set up a practical garden tool storage system, it is important to check your available space, the tools you own, the ground conditions, and the kind of access you need. This guide walks you through key considerations such as measuring your area, sorting tools by size and weight, choosing a dry and level location, and planning for easy retrieval. It also covers moisture control, safety for children and pets, and how to organize tools so you can find them quickly. By following these checks, you'll avoid common mistakes like rust, clutter, and unsafe storage.
Fast Answer
- Measure your storage area and list every tool you have, noting its size and weight, so you can plan a layout that fits without cramping.
- Choose a dry, level spot with good drainage and ventilation, and inspect the area for moisture or pest problems before you bring in any tools.
Before You Start
- Gather a tape measure, a pencil, and paper to sketch your storage space and note exact dimensions, including height and depth.
- Collect all tools from around your garden and yard, then sort them into piles by type: digging, cutting, pruning, watering, and motorized.
- Inspect each tool for rust, damage, or loose handles, setting aside any that need repair before storage.
- Decide on a storage location that is close to your main work areas but not in a low-lying spot that could flood or stay damp.
Step-by-Step Instructions
Measure Your Storage Space and Access
Start by measuring the length, width, and height of your intended storage area, whether that is a shed, a corner of the garage, a cabinet, or a lean-to. Use a tape measure and record the dimensions on paper. Also measure the doorway or the opening you will use to move tools in and out, because a wide tool like a shovel must fit through easily. Check the floor for levelness and any slope that could cause items to roll. If the area is too small for everything you own, decide what you can store elsewhere or what you might sell. This measurement step is critical because it tells you the true capacity you have, and helps you avoid overloading the space that can make access difficult and dangerous.
Sort Tools by Size, Weight, and Frequency of Use
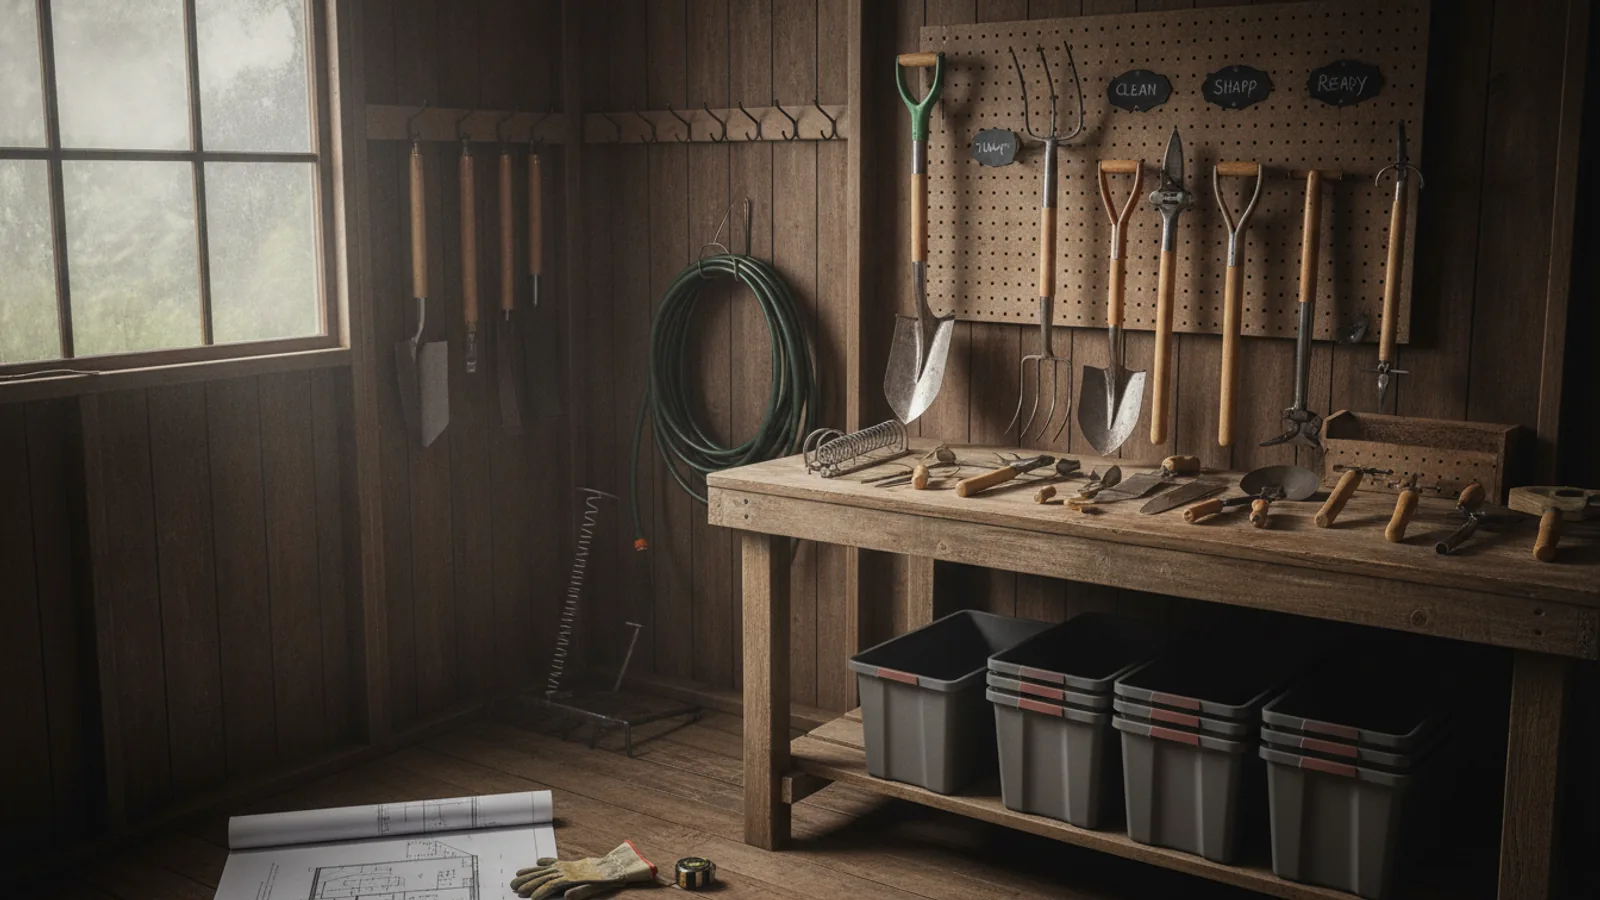
Gather every garden tool you plan to keep and sort them into piles based on two criteria: how heavy they are and how often you use them. For example, a lawnmower is heavy and used often; a hand trowel is light and used irregularly; a sledgehammer is heavy and rarely used. Place frequently used items in an easy-to-reach zone, and heavier items on shelves or hooks that are at waist height or lower to avoid lifting above your shoulders. Group tools by function, such as all cutting tools together, and hang them on a pegboard or wall rack to save floor space. This sorting step is essential because it prevents you from cramming items into inconvenient spots, and it makes your morning routine faster when you need a specific tool.
Check the Ground and Floor for Drainage and Stability
Examine the floor of your chosen storage spot for signs of dampness, stains, or standing water. Look for low spots where water could pool after rain, and feel along the walls for moisture or mold. If the floor is concrete, check for cracks that might allow water to seep through. For a shed that sits on soil, verify that the ground beneath is stable and compacted, not soft or muddy. Also, ensure the headroom is enough to stand and move without crouching. If you find any drainage issues, fix them by regrading the ground, adding gravel, or using a waterproof mat. Checking the ground matters because a damp floor promotes rust and rot, and an unstable base can cause shelves to lean or tools to topple over.
Evaluate the Area for Ventilation and Light
Stand inside your storage area and see if there is good airflow. Check for vents, gaps under eaves, or windows that can be opened. If the space feels stuffy, plan to add ventilation such as a small louvered vent or leaving the door ajar during dry weather. Good airflow prevents humidity from building up, which is a major cause of tool rust and mold on handles. Also assess the natural light, and consider adding a simple battery-powered LED strip or a motion-sensor light to make it easy to see what you are reaching for. This check matters because a dark, airless space makes it hard to find tools and encourages moisture that damages both metal and wood. You can, for example, install a solar-powered light near the door if you have an outdoor shed with a sunny spot.
Plan the Layout and Mount Storage Systems
Take your measurements and draw a simple floor plan on paper. Mark the best spots for wall-mounted racks, hooks, and shelving, considering where each tool will hang or rest. Start with the largest items like rakes, shovels, and hoes, and hang them on a wall rack at a height that is comfortable for you to reach. Use rubber-coated hooks to avoid scratching handles. For smaller tools, install a pegboard with a variety of pegs and shelves. Place a hose reel or a wheelbarrow on the floor in a corner to keep them out of the way. When mounting anything, locate wall studs and use appropriate anchors for hollow walls. This layout step is essential because a thoughtful arrangement maximizes storage density and prevents accidents caused by tools leaning in walkways or falling from loose hooks.
Do a Dry Run and Adjust as Needed
After setting up the hooks and shelves, place each tool in its designated spot and step back to see how it looks. Walk through the space as if you were using it, reaching for tools and returning them. Notice if any item blocks the path, if a hook is too low or too high, or if a shelf is overloaded. Make adjustments on the spot, such as moving a heavy tool higher or lower, or swapping two hooks. Continue this dry run until you can easily retrieve every tool without stretching or bending in a way that strains your back. This final check matters because it verifies that your storage design fits your actual body and habits, and it prevents the common problem of a space that looks neat but is awkward to use in real life.
Quick Reference
| Situation | Action | Why it helps |
|---|---|---|
| You notice that your tool handles are getting wet when it rains, even though the shed seems dry. | Inspect the roof and walls for leaks, and check the ground for water pooling. Seal any cracks, and move tools away from the walls onto a pallet or shelf. | Moisture is often from condensation or small leaks, and lifting tools off the ground and creating airflow prevents rust and rot. |
| You have a large number of long-handled tools, but your storage space is very narrow. | Install a wall-mounted rack with staggered hooks that allow you to hang tools diagonally, or use a ceiling-mounted pulley system to store them overhead. | Using vertical and overhead space maximizes the floor area and keeps tools accessible without creating a cluttered pile in a narrow room. |
| Pets or young children are allowed near the garden storage area, and you have sharp tools. | Mount a lockable cabinet on the wall for all cutting tools, and place a childproof lock on the shed door. Store power cords out of reach and cover blade ends with guards. | Securing sharp items behind a lock or high cabinet reduces the risk of serious injury, and makes your storage setup family-safe. |
Common Issues
- Tools are rusting despite being in a shed, and you see droplets on metal parts.: Wipe down tools with a light oil after each use, and install a dehumidifier or moisture-absorbing container inside the shed. Ensure good air circulation and keep tools off the floor.
- Handles keep breaking or cracking on shovels and rakes.: Store tools with handles hanging vertically rather than leaning against a wall, and avoid placing heavy objects on top of handles. Apply a wood preservative or linseed oil to wooden handles twice a year.
- You cannot find small tools like pruners and trowels because they are lost among larger equipment.: Use a wall-mounted pegboard with outline silhouettes of each tool, and assign a specific hook for every item. Keep a small bucket or caddy near the entrance for frequently used hand tools.
Advanced Tips
- Install a magnetic strip on a wall to store small metal tools like trowels, weeding knives, and secateurs, which frees up pegboard space and keeps them visible.
- Use color-coded tape on handles to indicate tool type, with a chart near the storage area, so you can quickly locate a tool without searching.
- For motorized tools like trimmers and chainsaws, empty the fuel tank before long-term storage to prevent gumming, and clean the air filter according to the manual.
Final Checklist
- Measure your storage area including door openings and ceiling height, and sketch a plan before you hang anything.
- Sort tools by size and frequency, and place heavy items low and often-used tools at waist height.
- Check for moisture and drainage problems, and fix any leaks or low spots to keep tools dry.
- Install secure hooks, shelves, and a pegboard, then do a dry run to ensure easy access and safety for everyone.
FAQ
How high should I hang a rake or shovel on a wall rack?
Hang it so the handle is within easy reach from standing height, usually with the head at around shoulder height. This lets you grab the handle without stretching or bending, and prevents the head from hitting your shoulder when you take it off. Adjust to your own height that it feels comfortable.
What is the best way to store tools with wooden handles to keep them from cracking?
Keep them in a dry, well-ventilated area away from direct sunlight. Apply a coat of boiled linseed oil to the handles every few months to seal the wood. Never leave them leaning against a damp wall, as this can cause swelling and splinters.
Can I store my garden tools outside under a tarp?
Storing outside is not ideal because tarp traps moisture, which promotes rust and rot. If you have no alternative, choose a location that is covered and dry, and raise tools off the ground on a pallet or rack. You must check and re-oil the tools often to protect them from humidity.